
3D Puff Embroidery on Caps
Tips for beautiful 3D puff embroidery, including digitizing and clean removal of urethane! Check out the video on Youtube for more points of detail.
INDEX
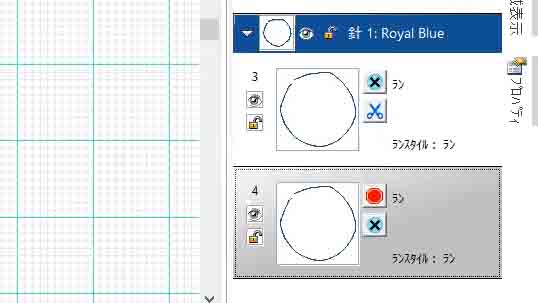
Key Points for Digitizing
Insert a stop cord to place the urethan
Insert a stop cord that stops the machine after the contour is sewn. This will tell you where to place the urethane.
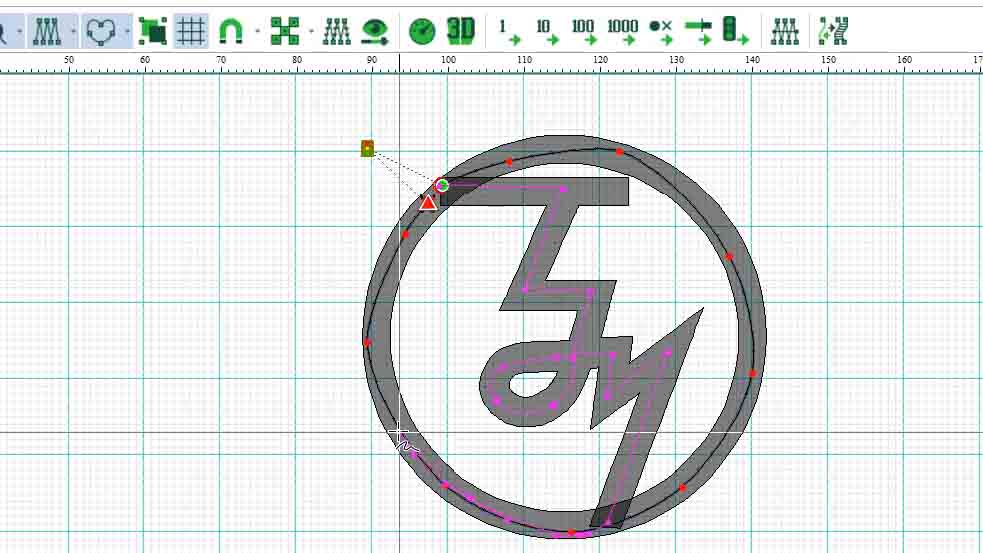
Insert stitches to hold down the urethane
Insert running stitches to secure the placed urethane.
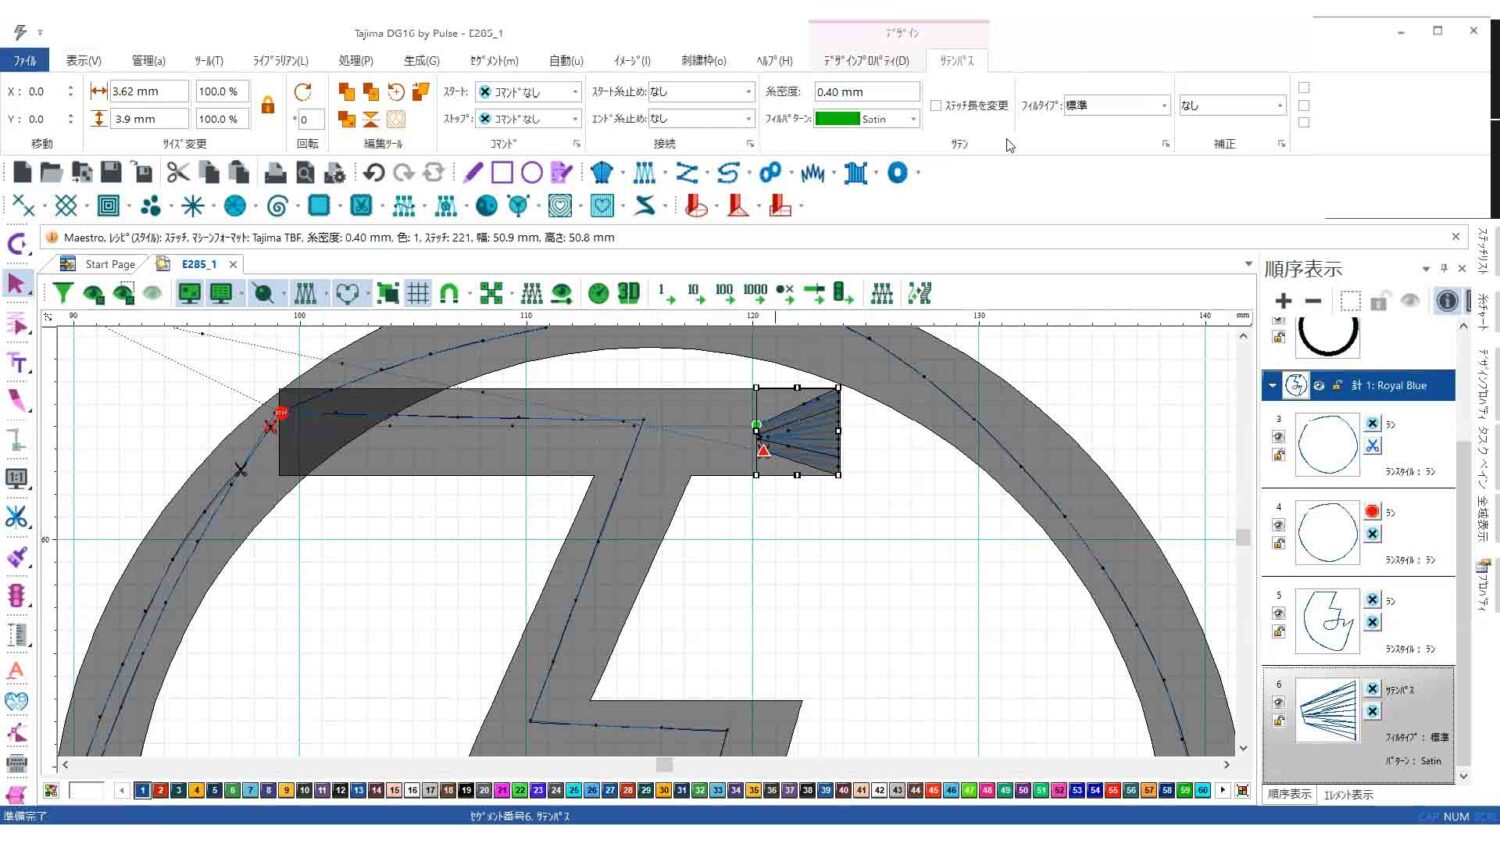
Insert stitches to cut urethane on end faces
Insert a satin stitch on the end face to cut the urethane. Change the thread density to 0.2 mm.
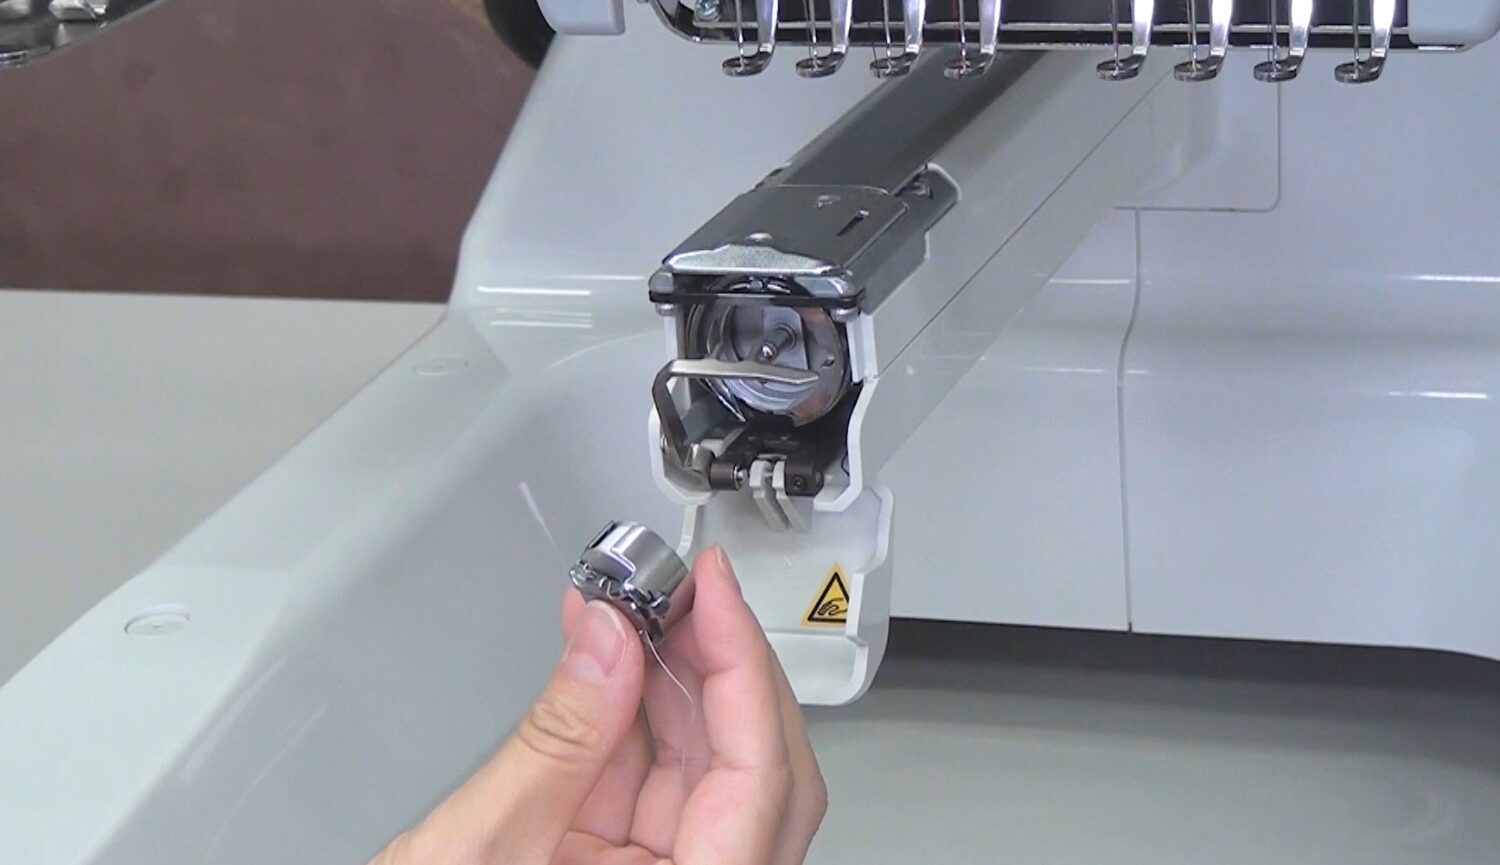
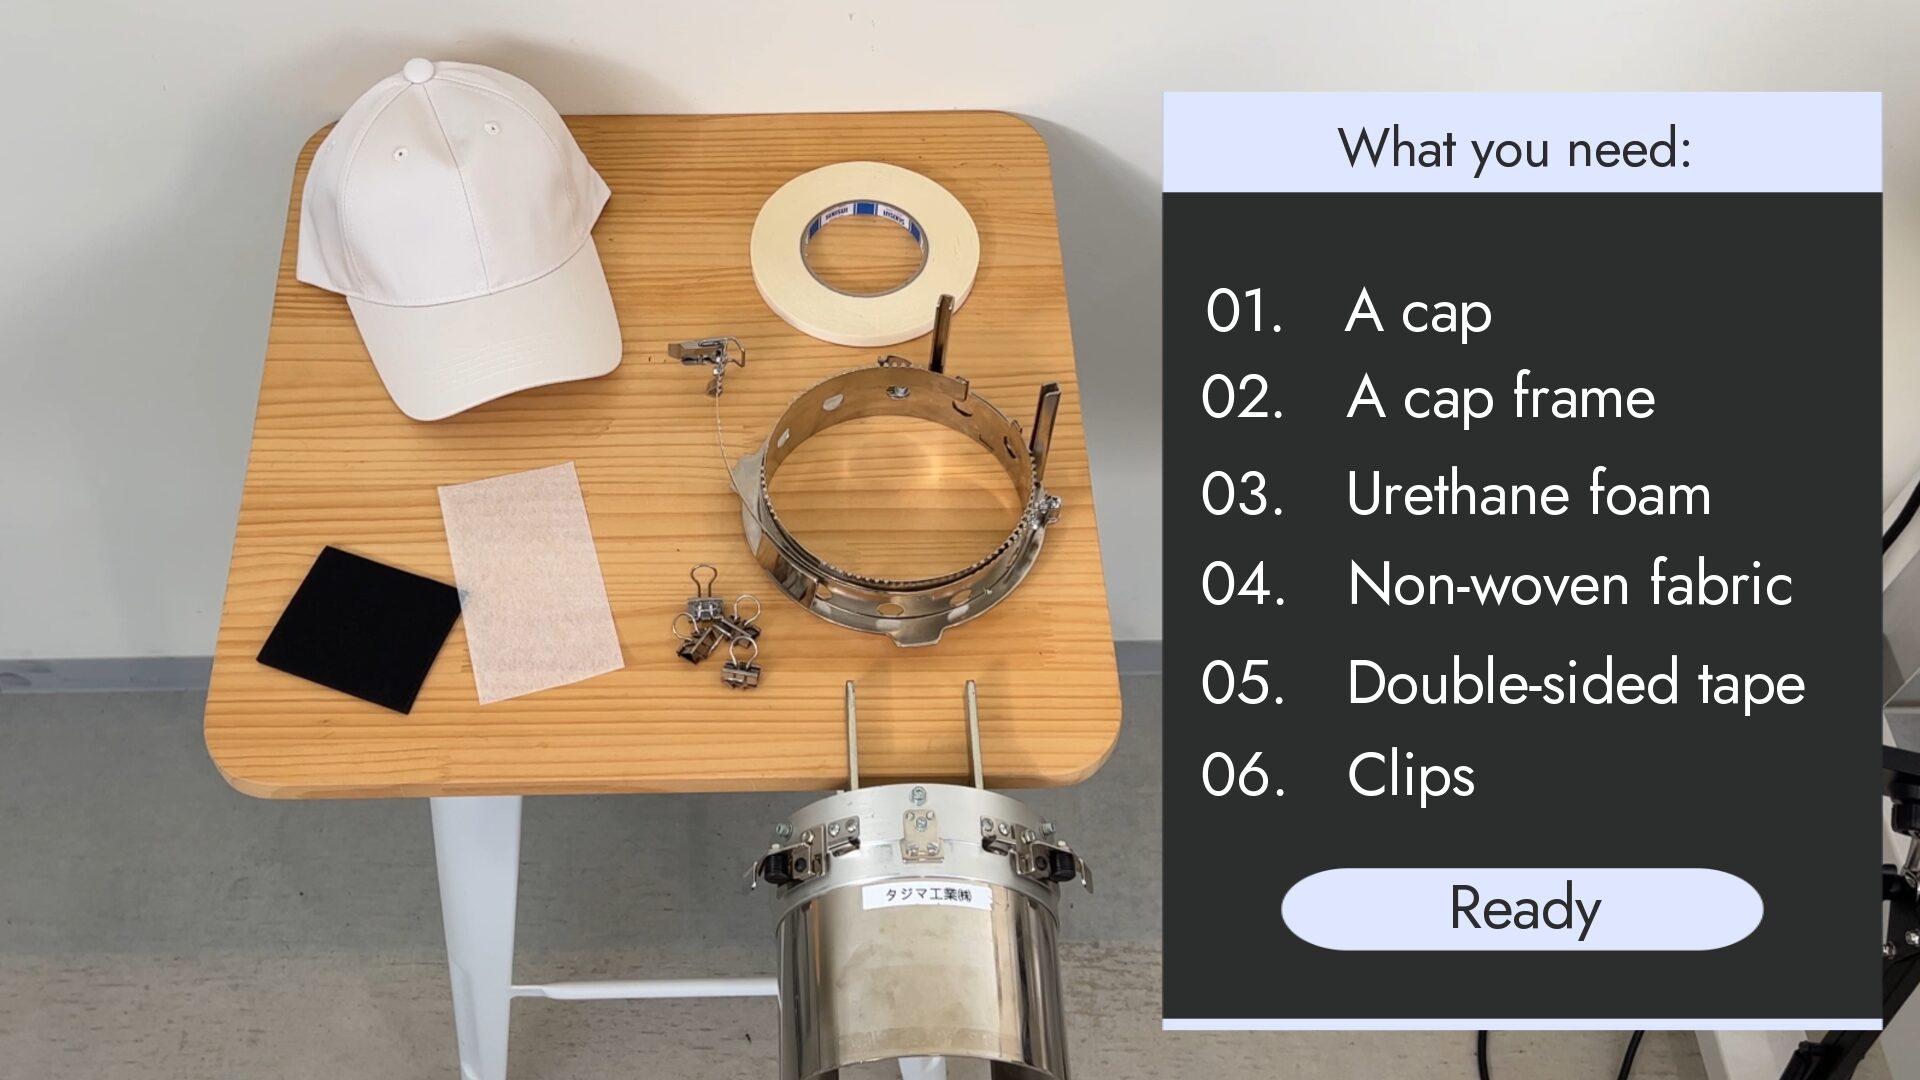
What You Need for Embroidery
Key Points for Sewing Preparation
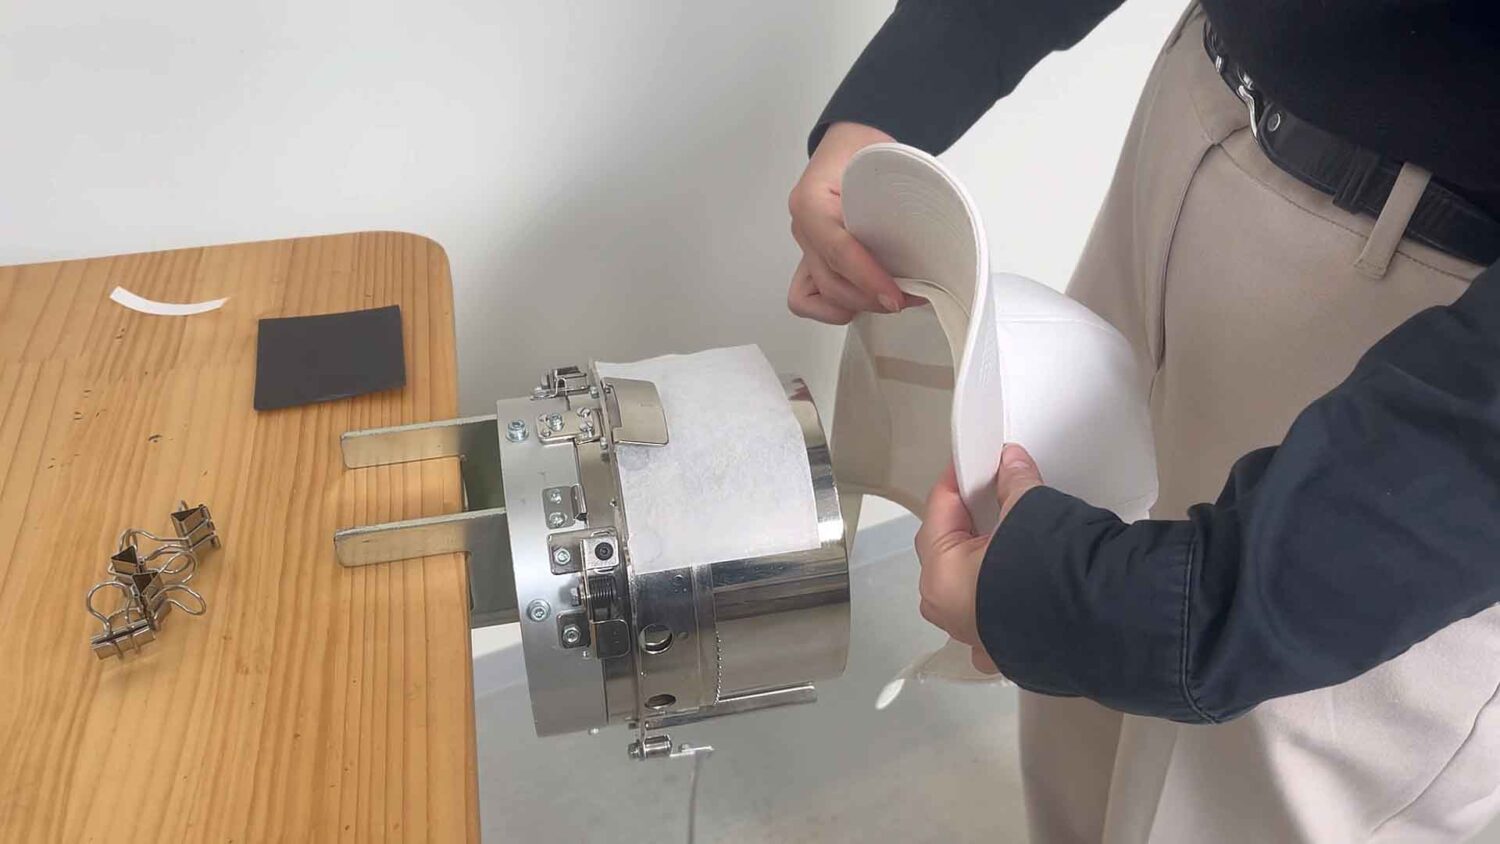
Set the cap on the cap frame
Fix the non-woven fabric to the cap frame with double-sided tape, and set the cap on top of it. Pull out the sweat bands so that they are not sewn together.

Clip to hold the cap in place
Use clips to secure the hat so that it does not move. This prevents misalignment and creates a clean finish.
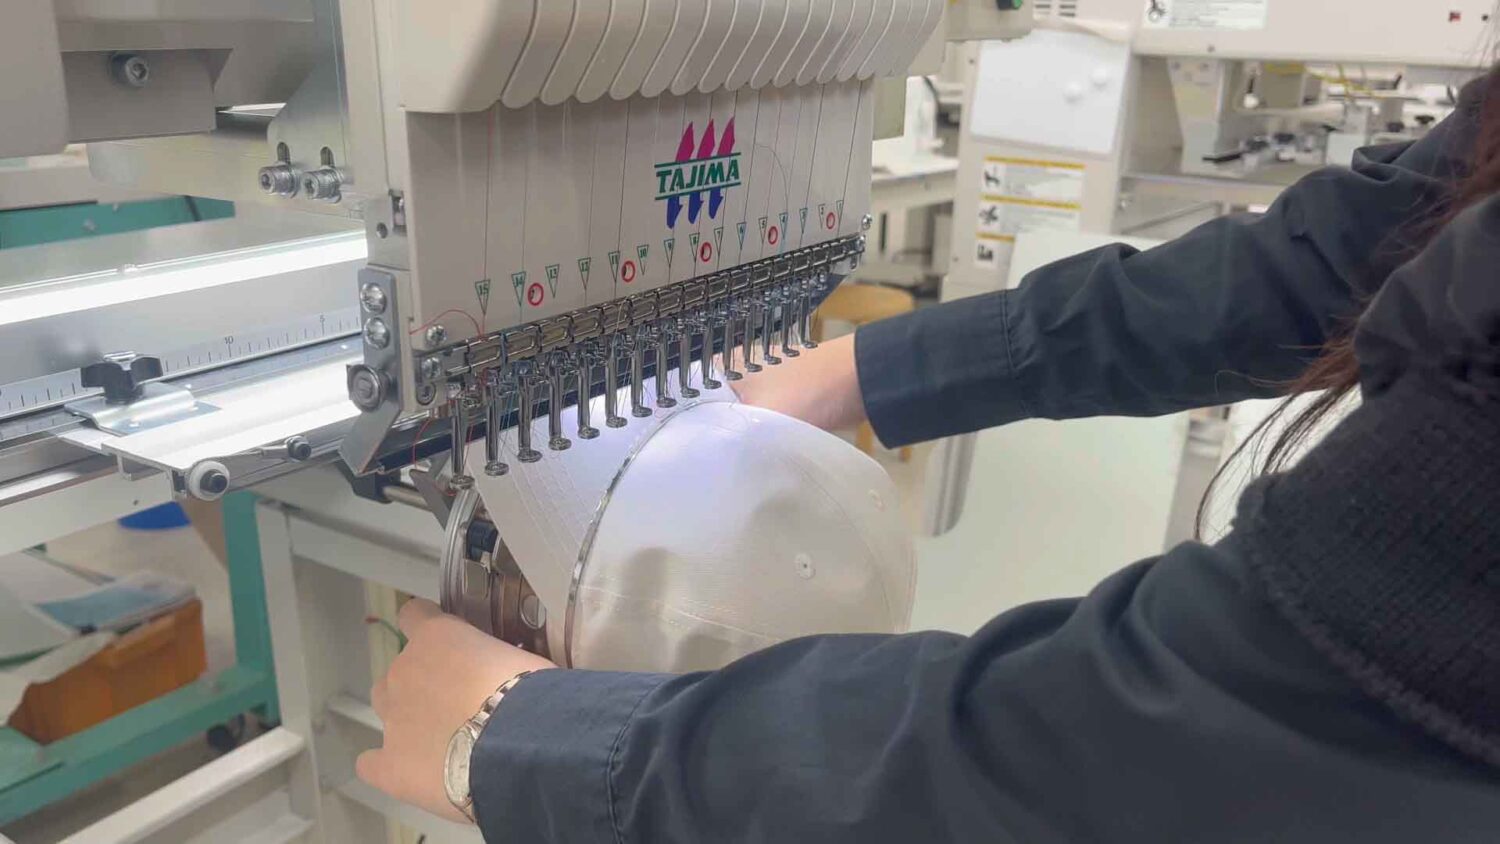
Set the cap frame on the embroidery machine
Place the cap frame on the embroidery machine. Push it in until it “clicks” into place.
Adjustment at the control panel
Rotate 180 degrees to embroider in the correct position. If the design was rotated during digitizing, this step is not necessary. Make sure the design is not upside down.
Next, use the tracing function to ensure the needle does not fall into the frame.
Starting Embroidery Machine
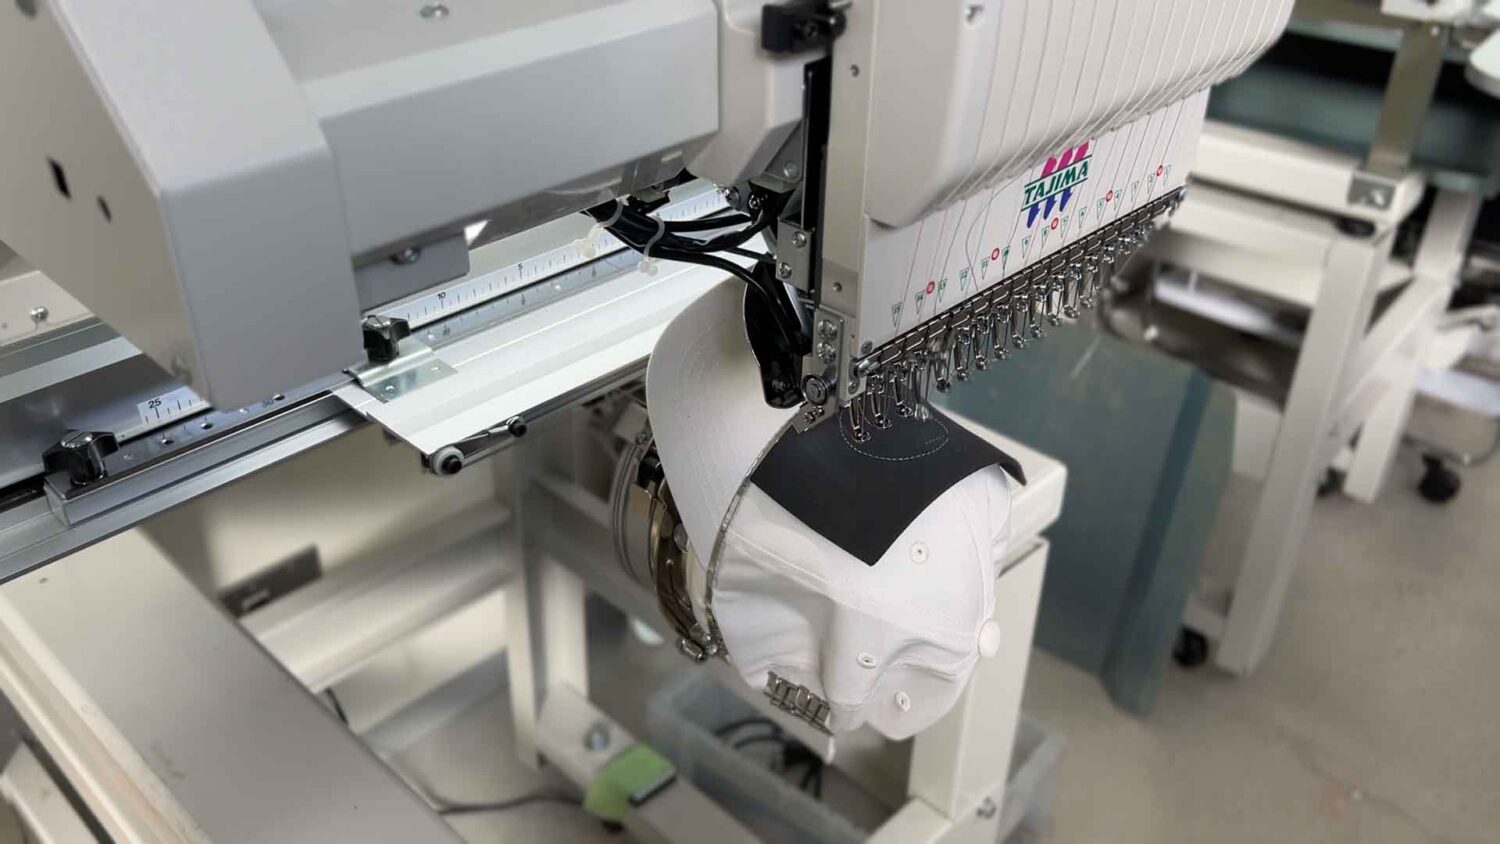
Paused due to a stop code placed in the data
The embroidery machine will pause after sewing the outer circumference because a stop code was inserted during data preparation. Note that if you forget to put the stop code in digitizing, you will miss the timing to place the urethane.
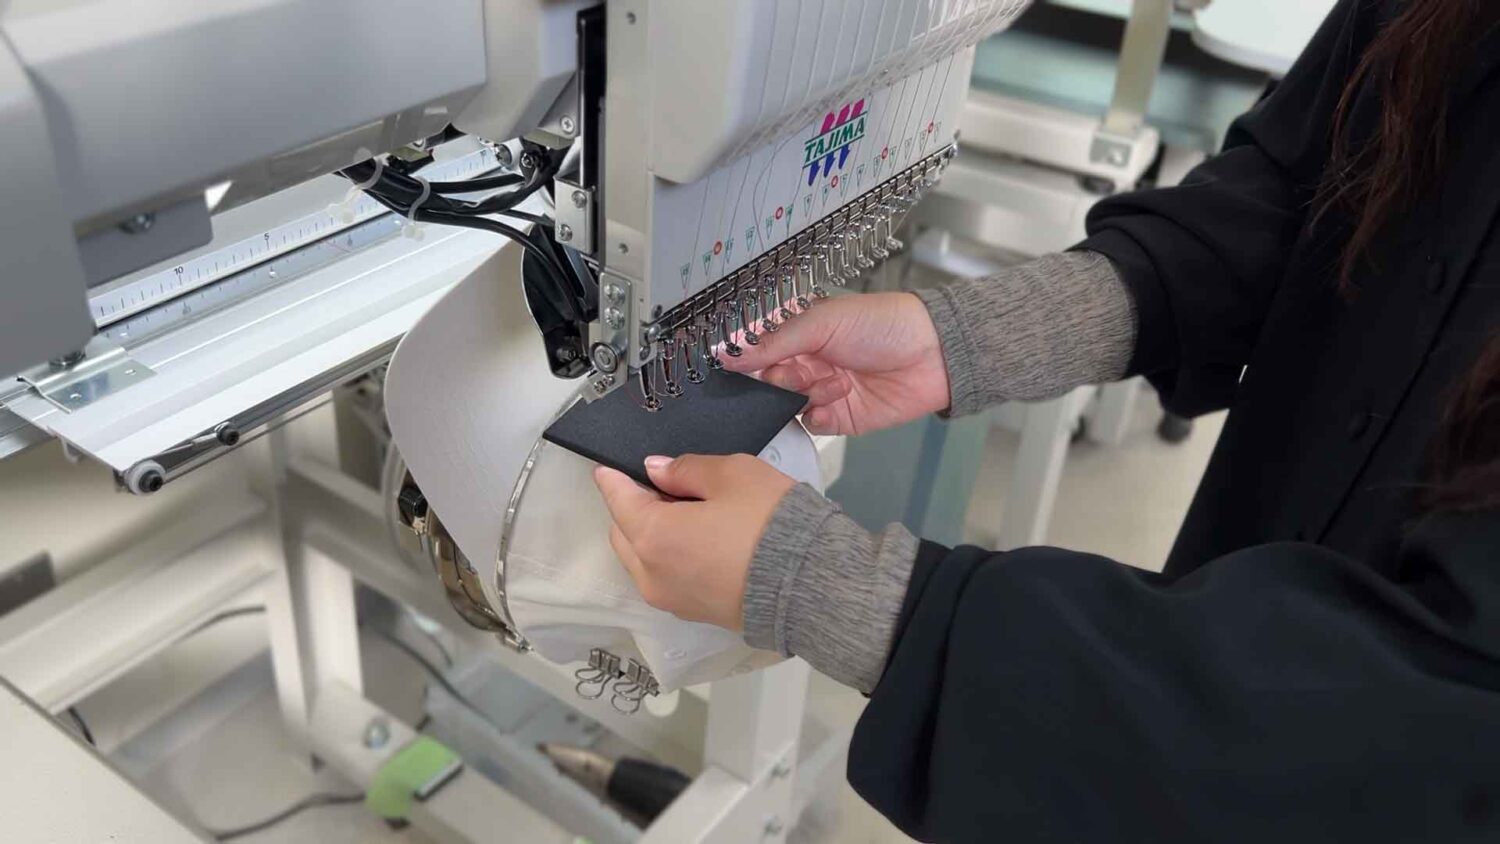
Place the urethane on the 3D point
Place the urethane on the 3D point with double-sided tape. If fixed with double-sided tape, the urethane will not shift and will be nicely finished.
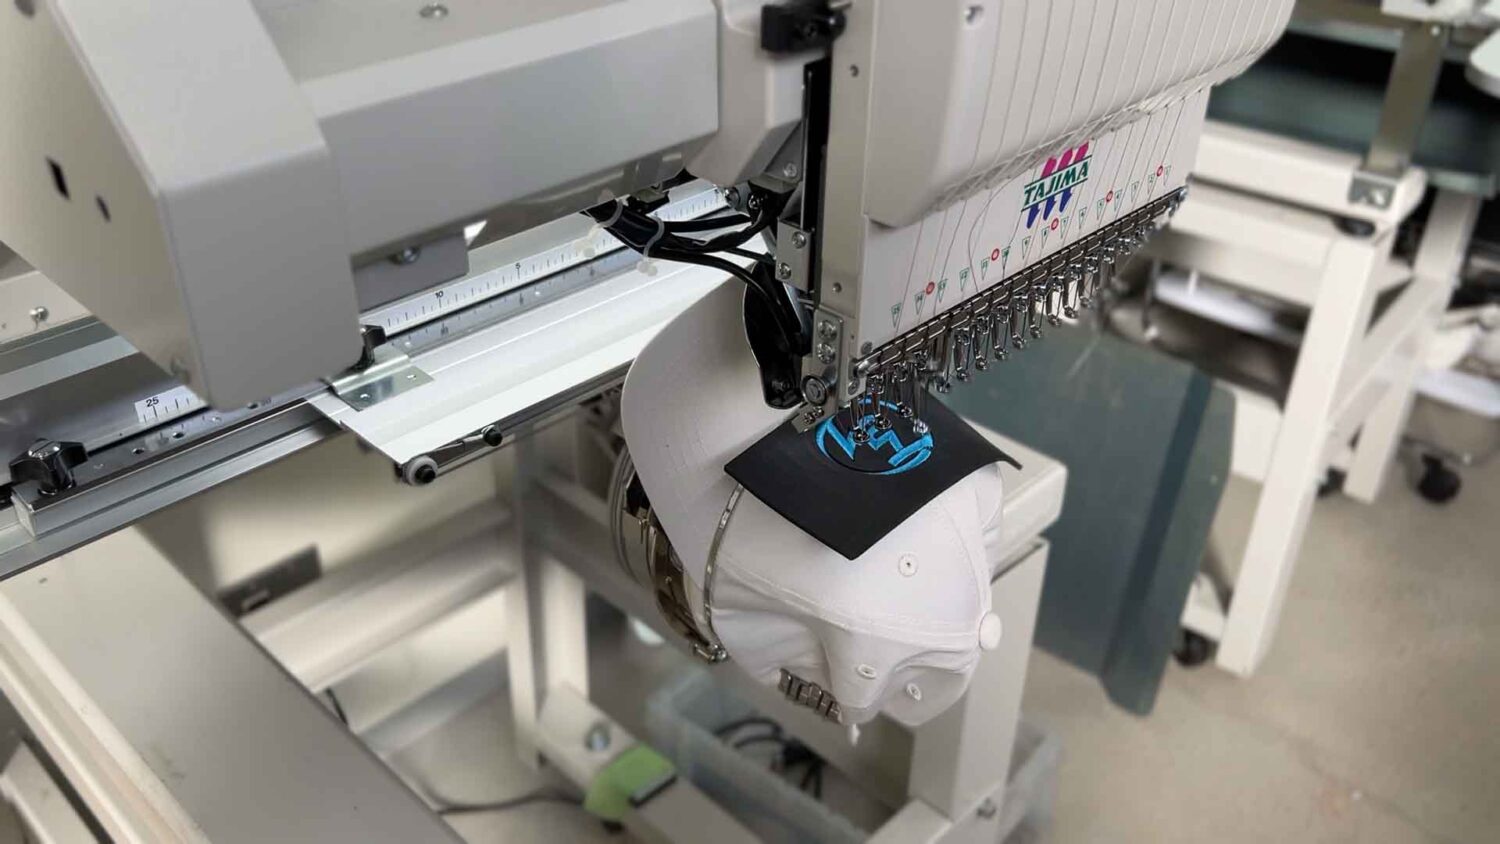
Start sewing again
Running stitches were inserted during digitizing to hold the urethane in place so it will stay in place.
Embroidery processing is completed
If the top or bottom of the embroidery is not stitched neatly, the position should be readjusted when setting or tracing the hat frame.
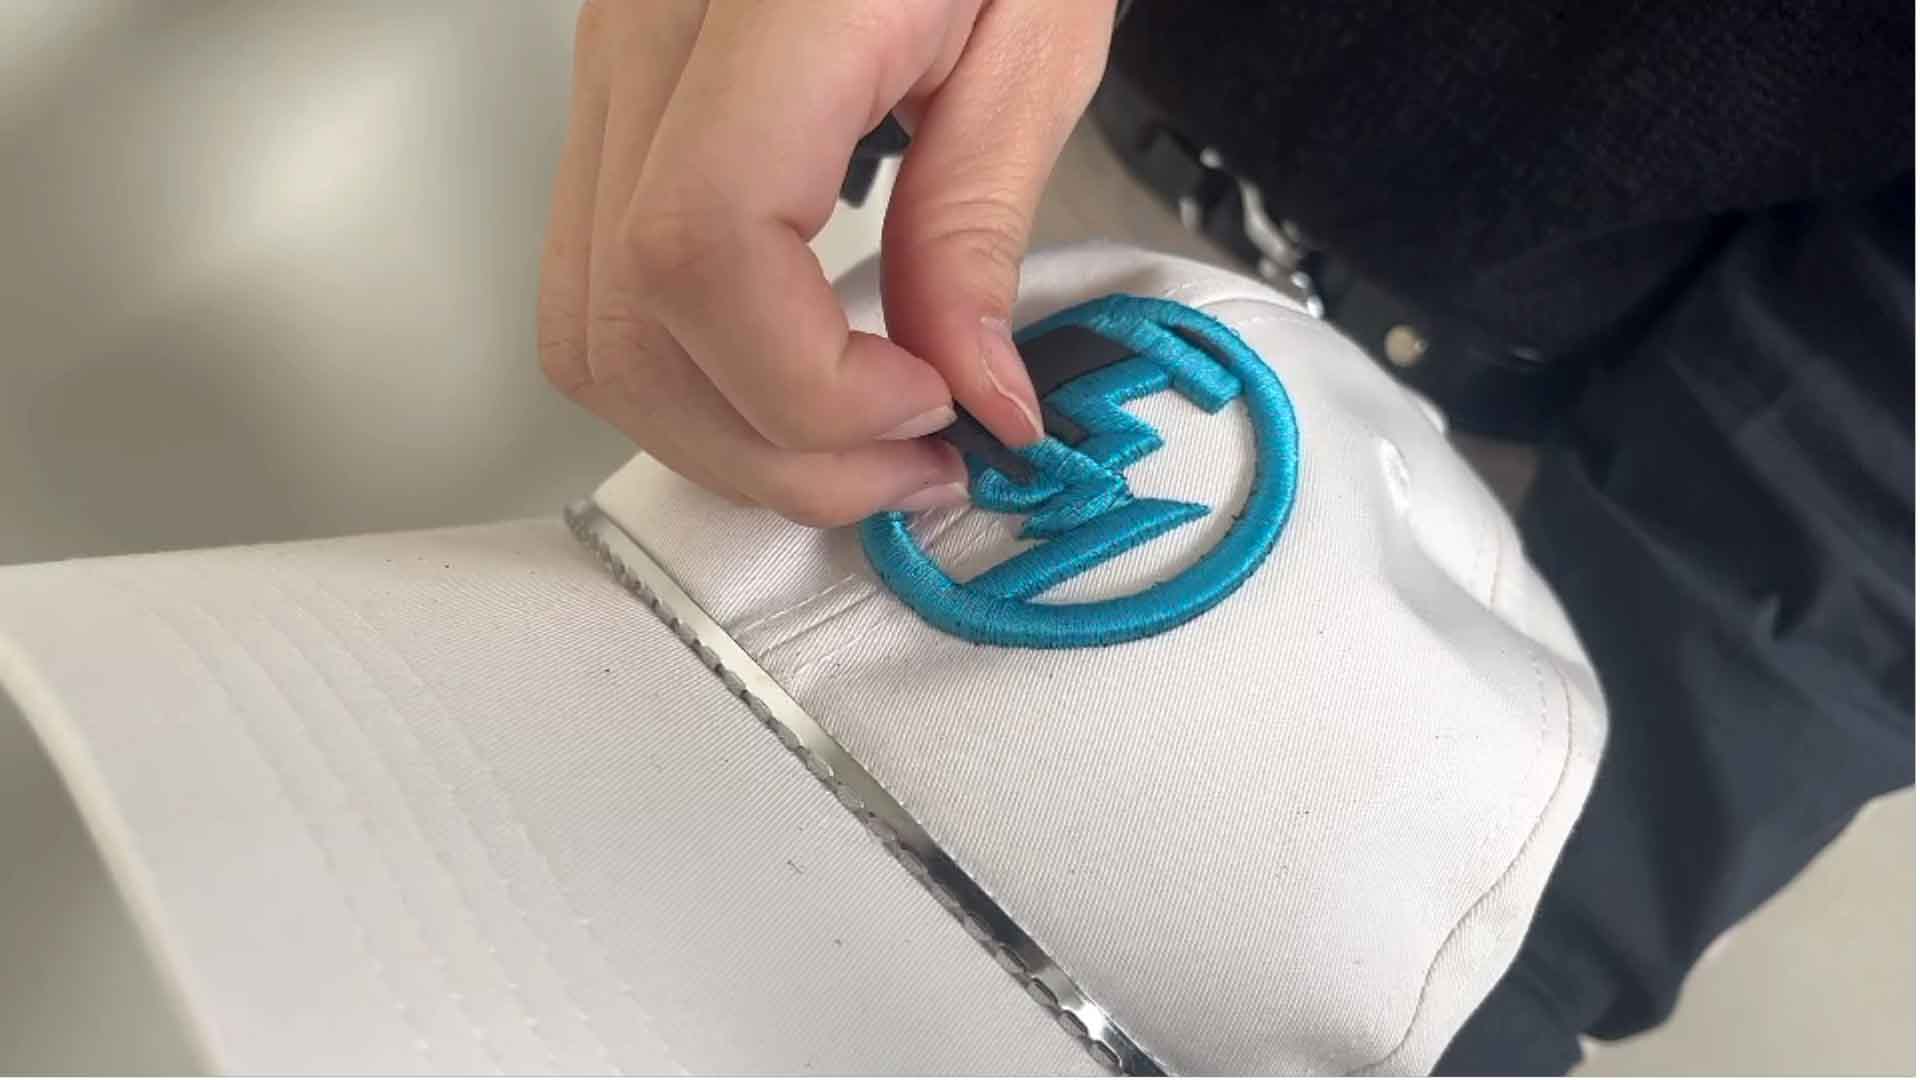
Key Point for Cleanly Peeling off Urethane
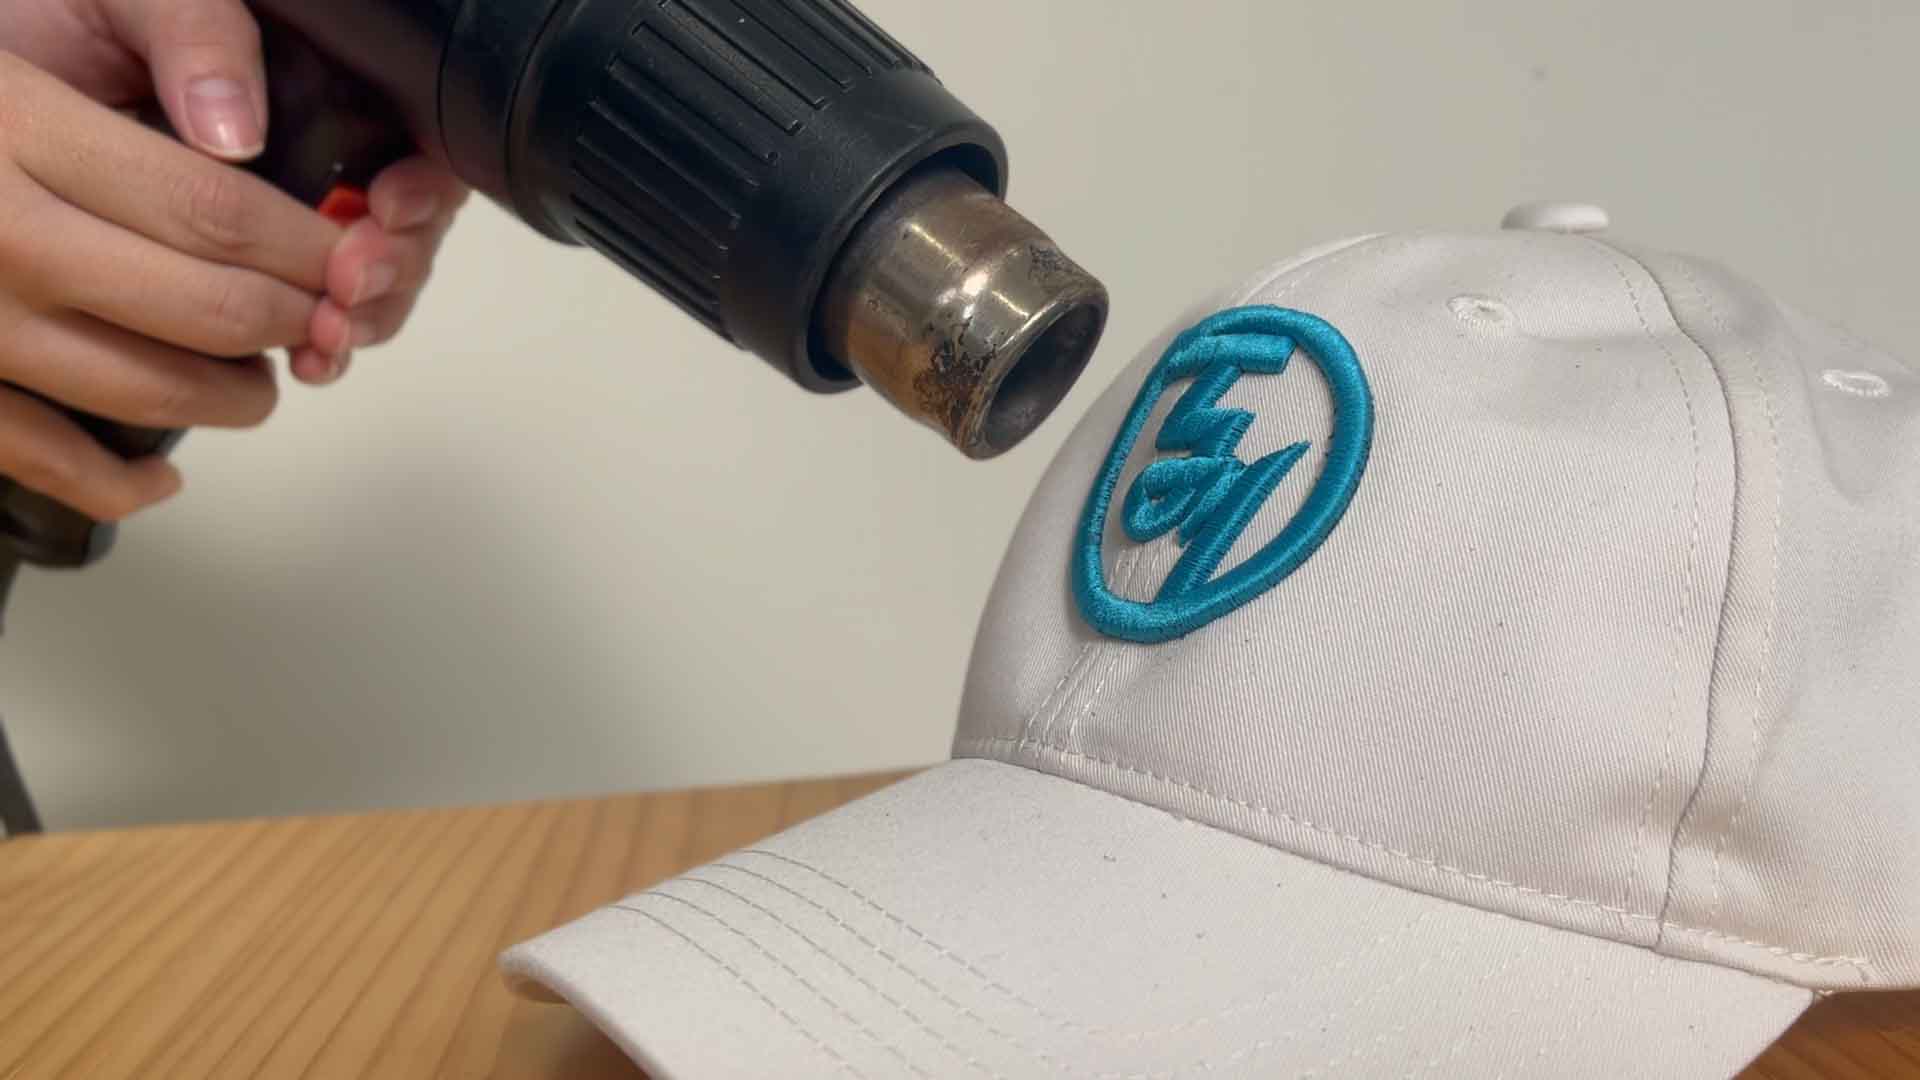
Remove excess urethane after embroidery. Small urethane remnants can be melted by applying heat with a hair dryer, etc. When using polyester yarn, be careful not to put it too close to a hair dryer, as it tends to melt easily.
This completes the process! You can also watch Youtube and try it!