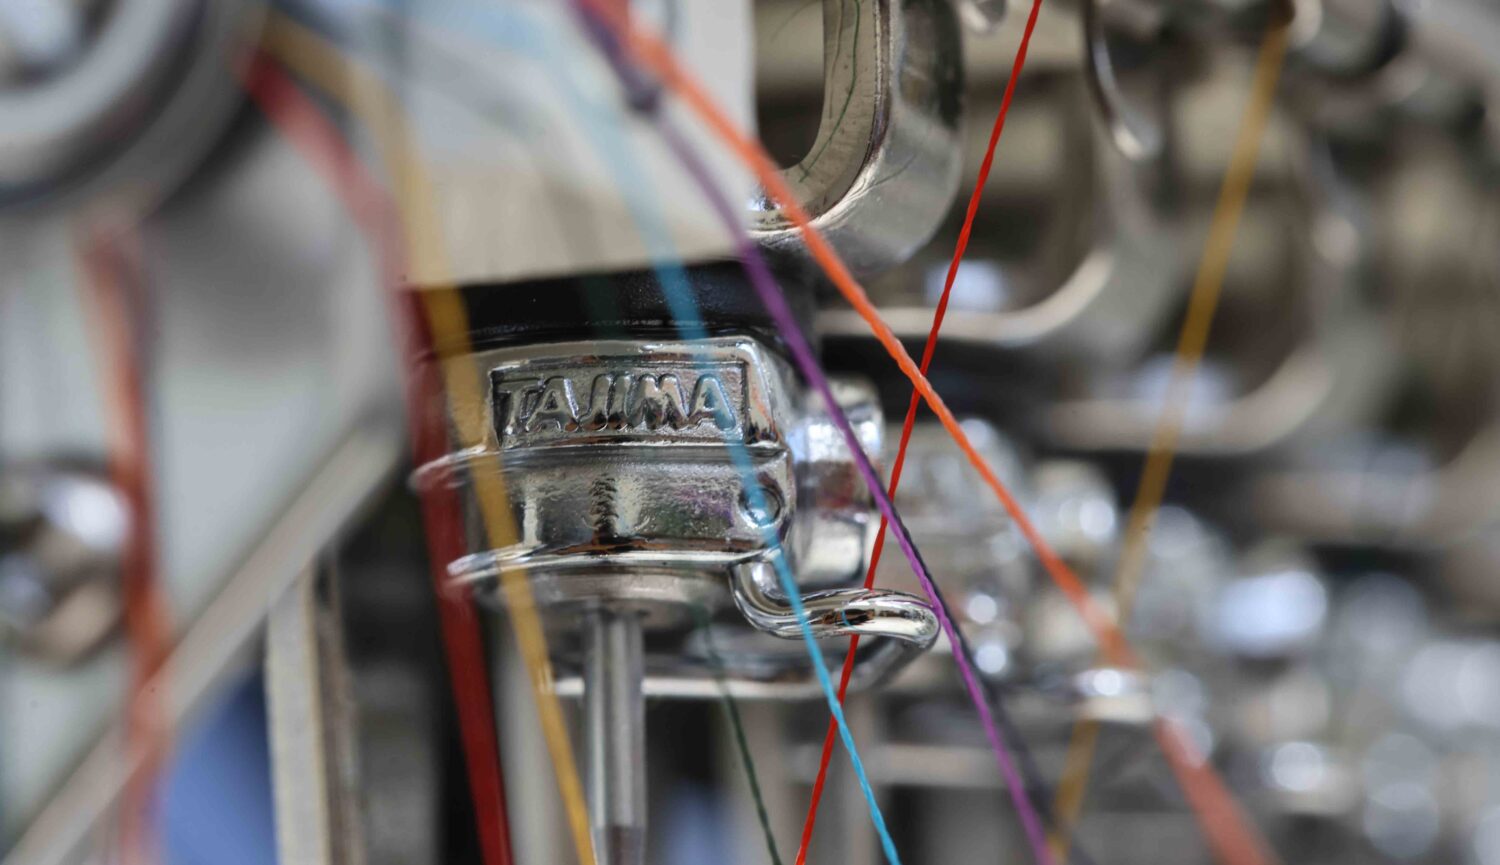
Thread tension has a significant impact on the quality of your finished embroidery.
How do you usually make your day-to-day adjustments?
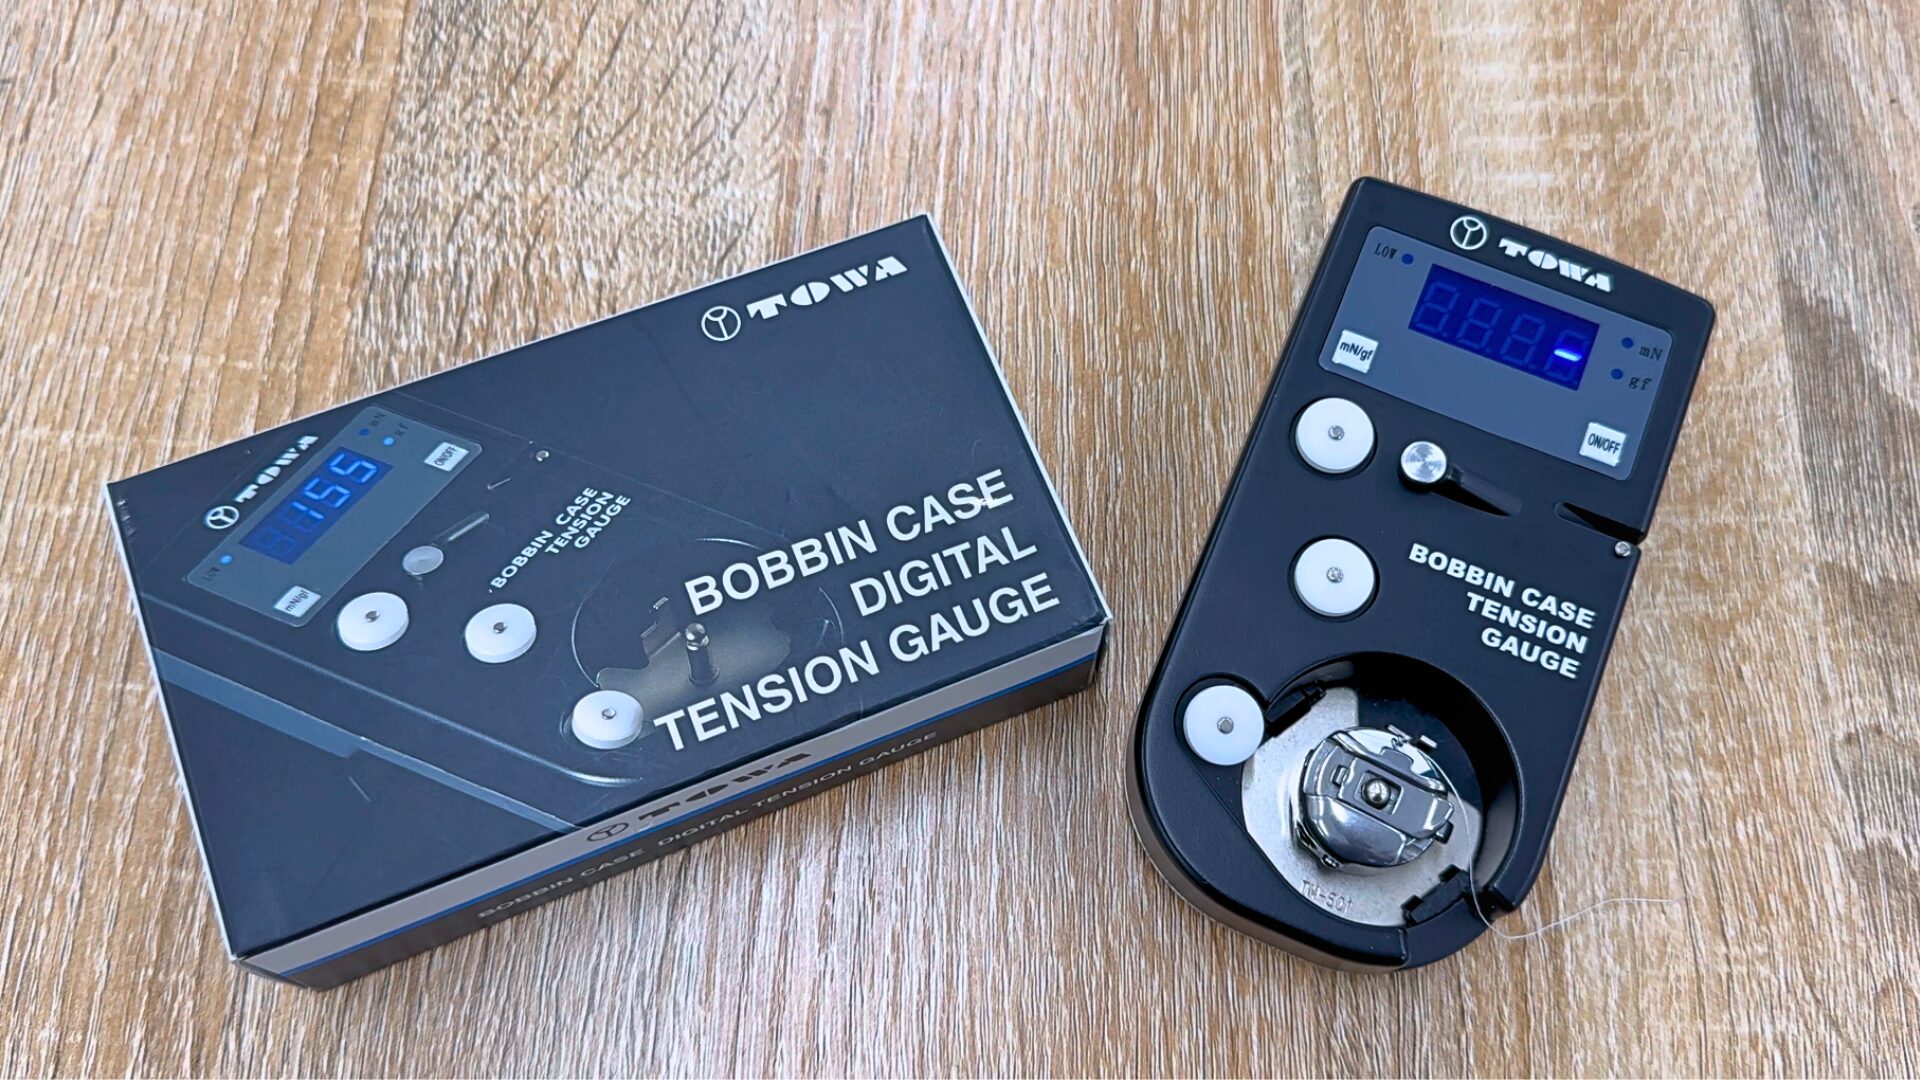
Because tension control often relies on subtle hand feel and intuition, it can be difficult to measure or quantify accurately. In this article, we introduce the digital tension gauge, a device that allows you to check thread tension numerically and adjust it with confidence.
INDEX
What Is Thread Tension?
Thread tension refers to the amount of resistance felt when the thread is pulled.
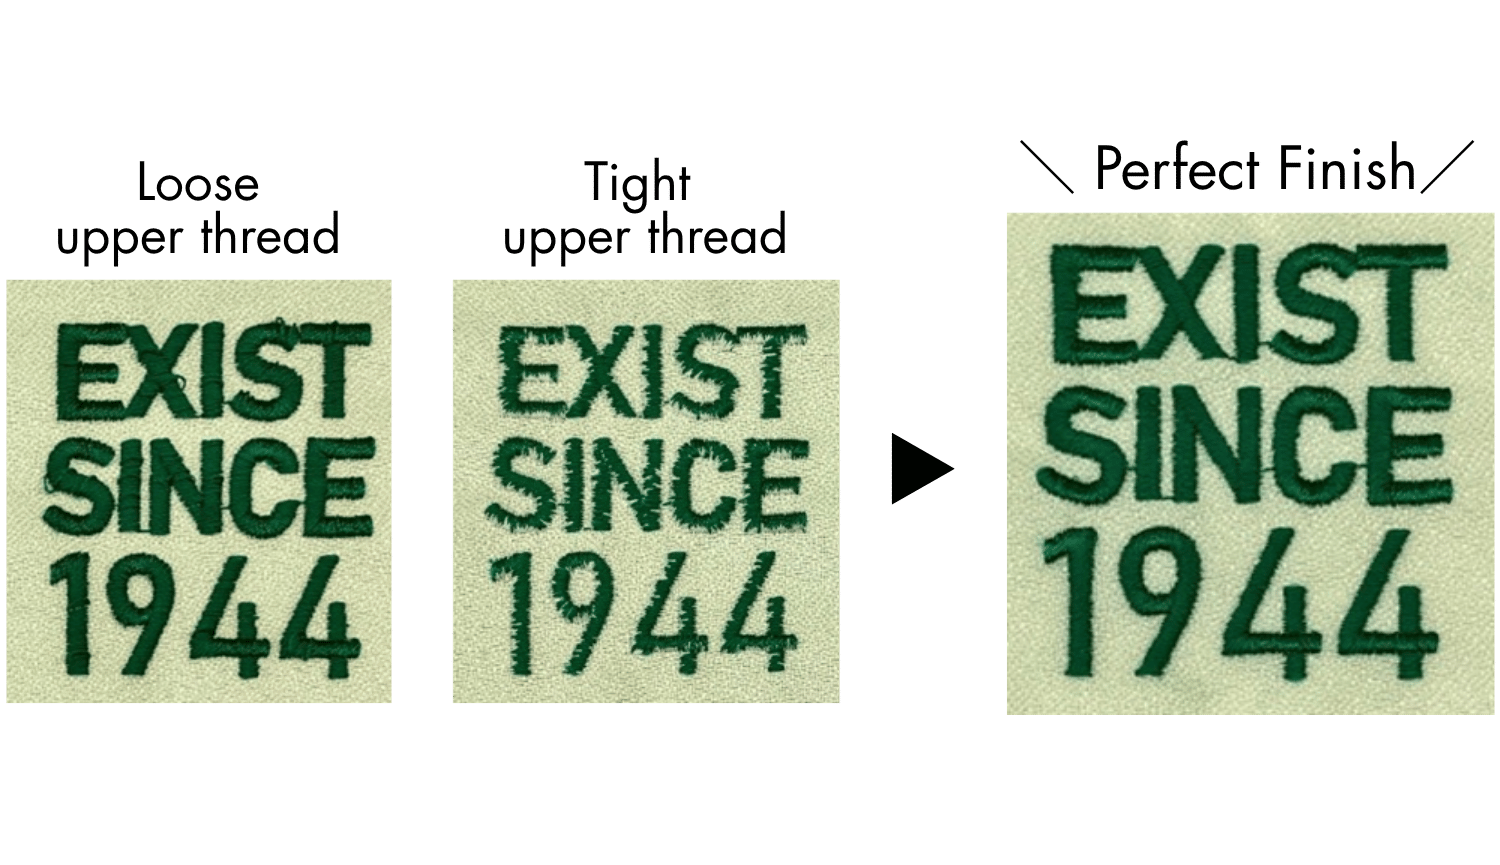
If the tension is not properly adjusted, it may affect the quality of your stitching or embroidery, so achieving the correct tension is essential.
Although the ideal tension range varies depending on the type of thread and fabric you are using, the values below are considered standard reference ranges.
Check the stitch quality as you sew and adjust the tension as needed.
| Thread | Tension Value |
| Upper threads (Rayon) | 110~130 g |
| Upper threads (Polyester) | 100~110 g |
| Under Threads | 30~35 g |
What Is a Digital Tension Gauge?

Tension adjustment often depends heavily on intuition and subtle hand feel.
Many beginners struggle with questions like “How tight should the tension be?” Likewise, in production settings, operators may have different skill levels, resulting in inconsistent tension settings across the team.
For situations like these, the digital tension gauge is highly recommended!
A digital tension gauge measures thread tension—that is, the resistance you feel when pulling the thread—and displays the value numerically.
By checking the tension of both the bobbin thread and the upper thread in numbers, you can achieve consistent tension settings and greatly improve work efficiency.

Among Tajima embroidery machines, the TMEZ Series features i-TM, Tajima’s proprietary AI technology that automates upper-thread tension adjustment, which is especially prone to variation when done manually.
This makes it an ideal machine not only for those just starting an embroidery business, but also for production environments handling many materials and designs in small-lot, high-mix workflows.
Learn more about Tajima’s proprietary AI technology “i-TM”
How to Use the Digital Tension Gauge?
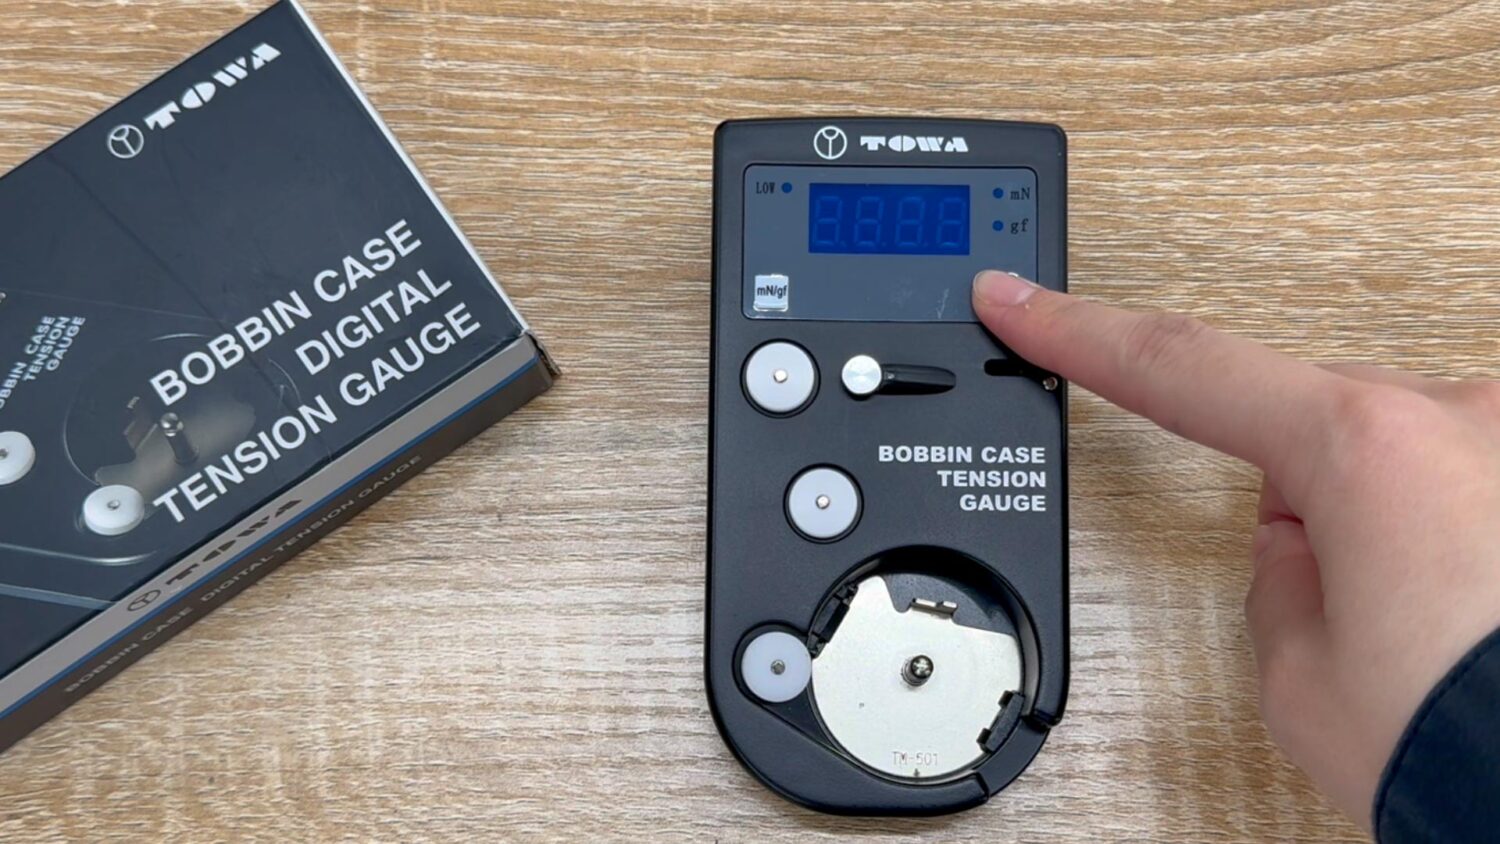
Preparation① Press and hold the power button to turn on the device, then select the measurement range.
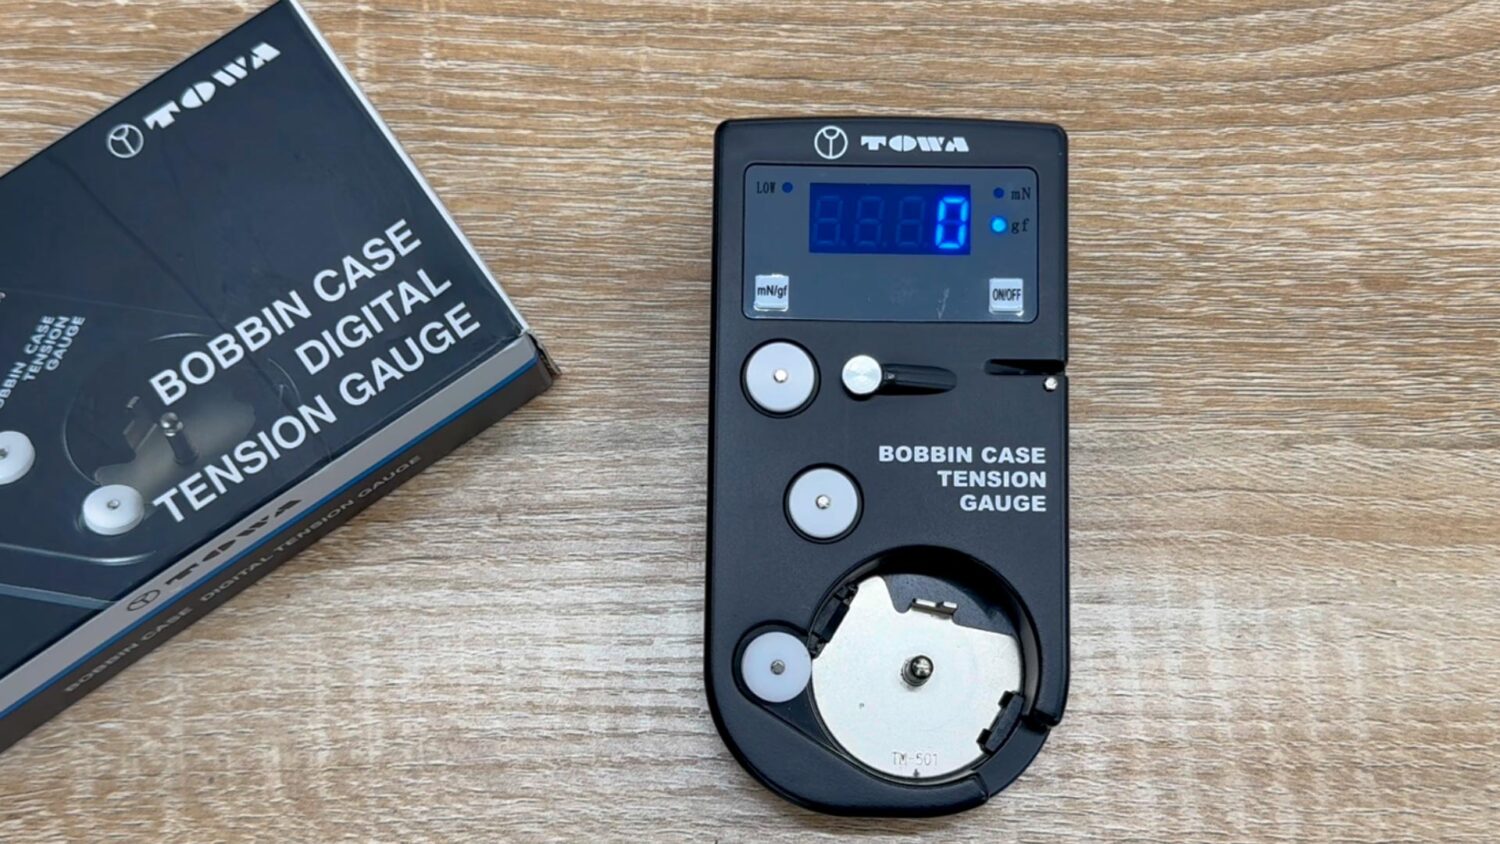
Preparation② Press the power button again to reset the value to zero.
How to Measure Upper Thread Tension.
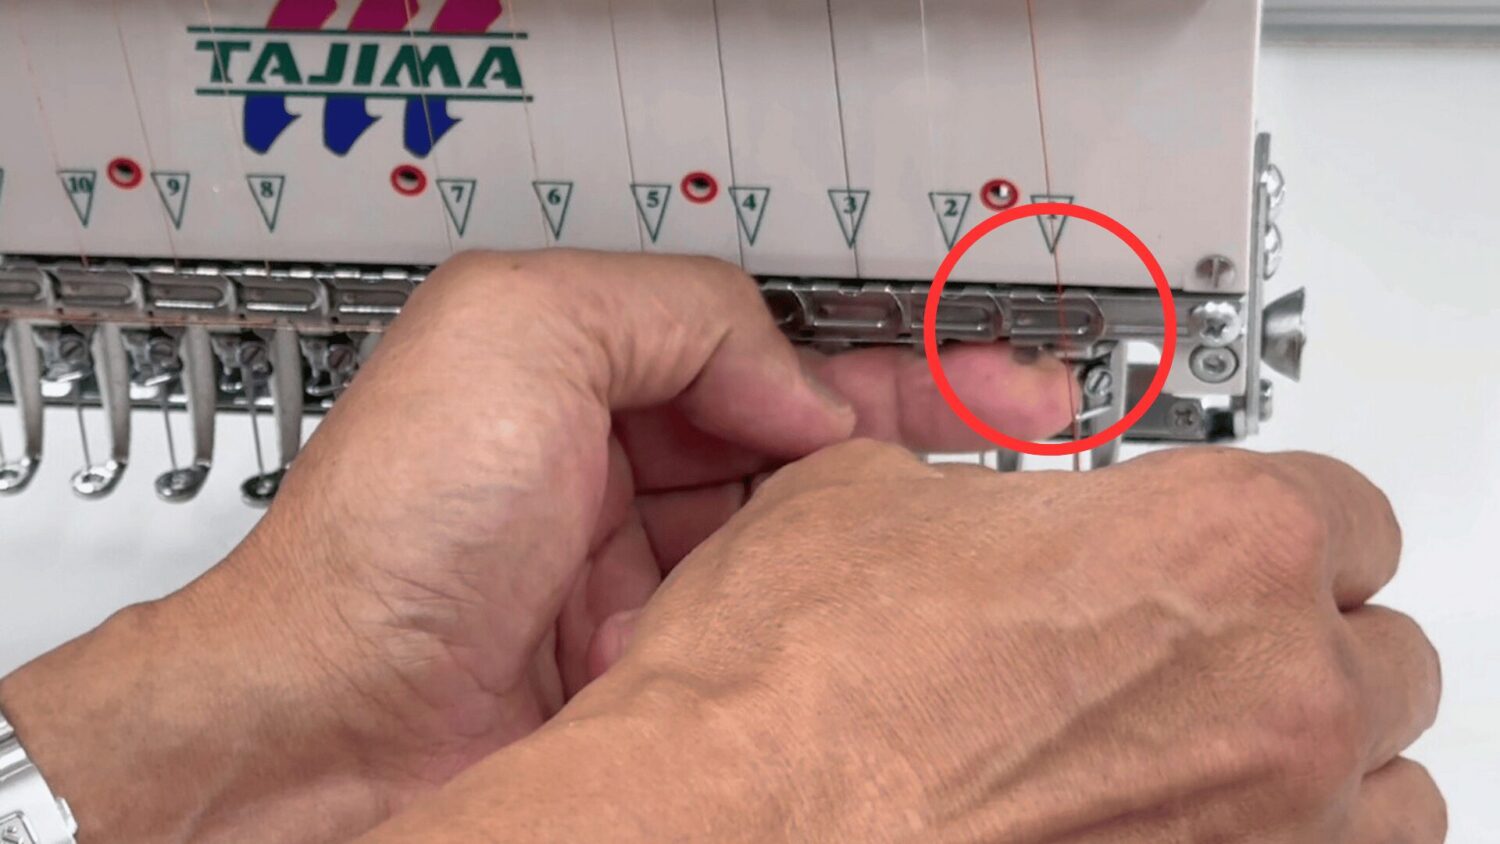
①Remove the thread from the upper thread lock.
If the thread remains in the upper thread lock, additional resistance will be applied and the reading will be inaccurate.
After measuring, be sure to thread it back through the upper thread lock.
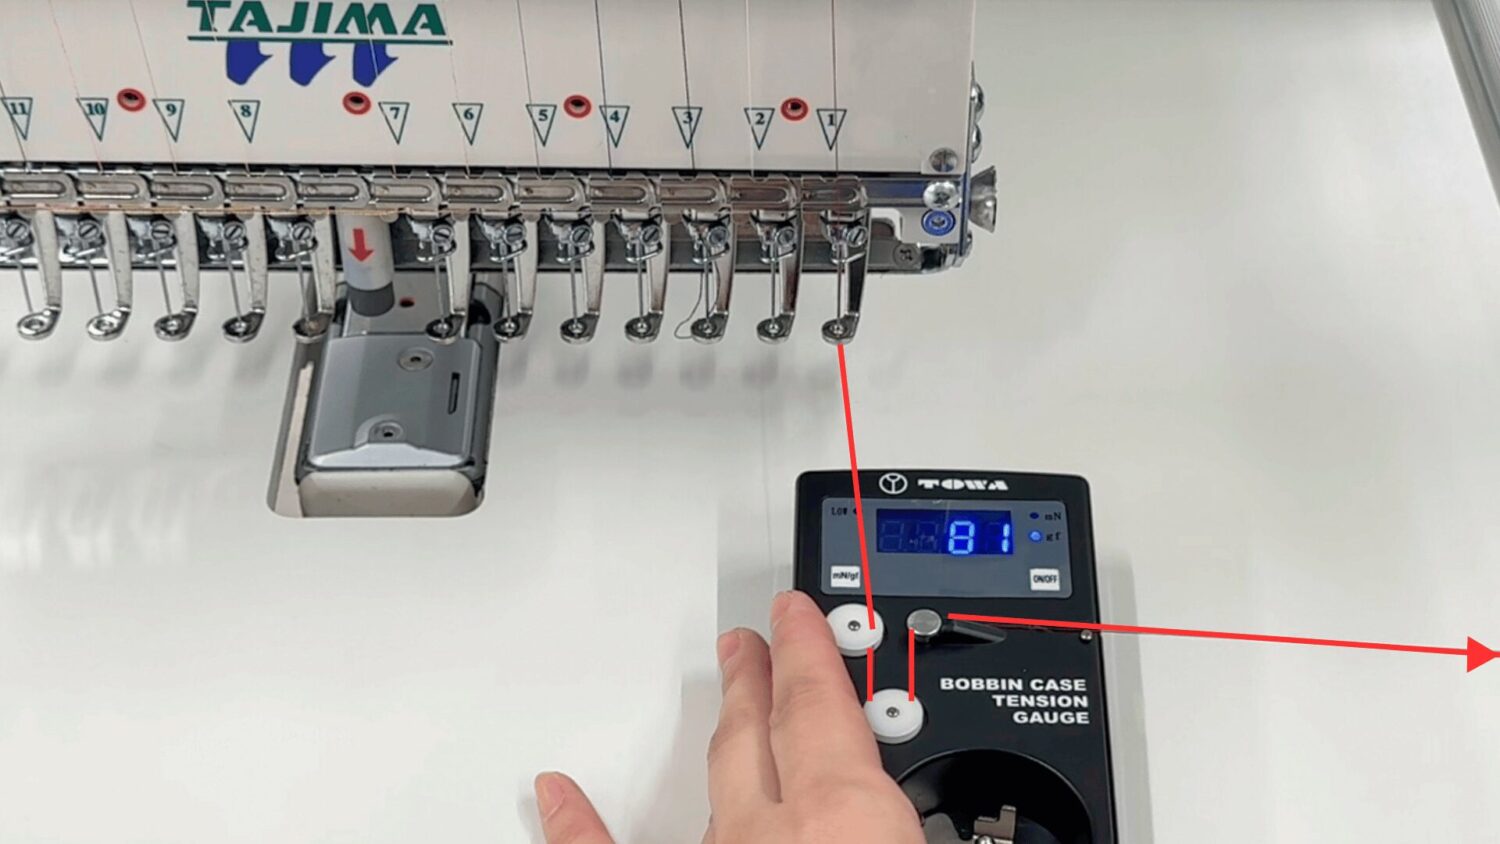
②Set the thread onto the digital tension gauge and pull it gently to the right.
The current tension value will appear on the display.
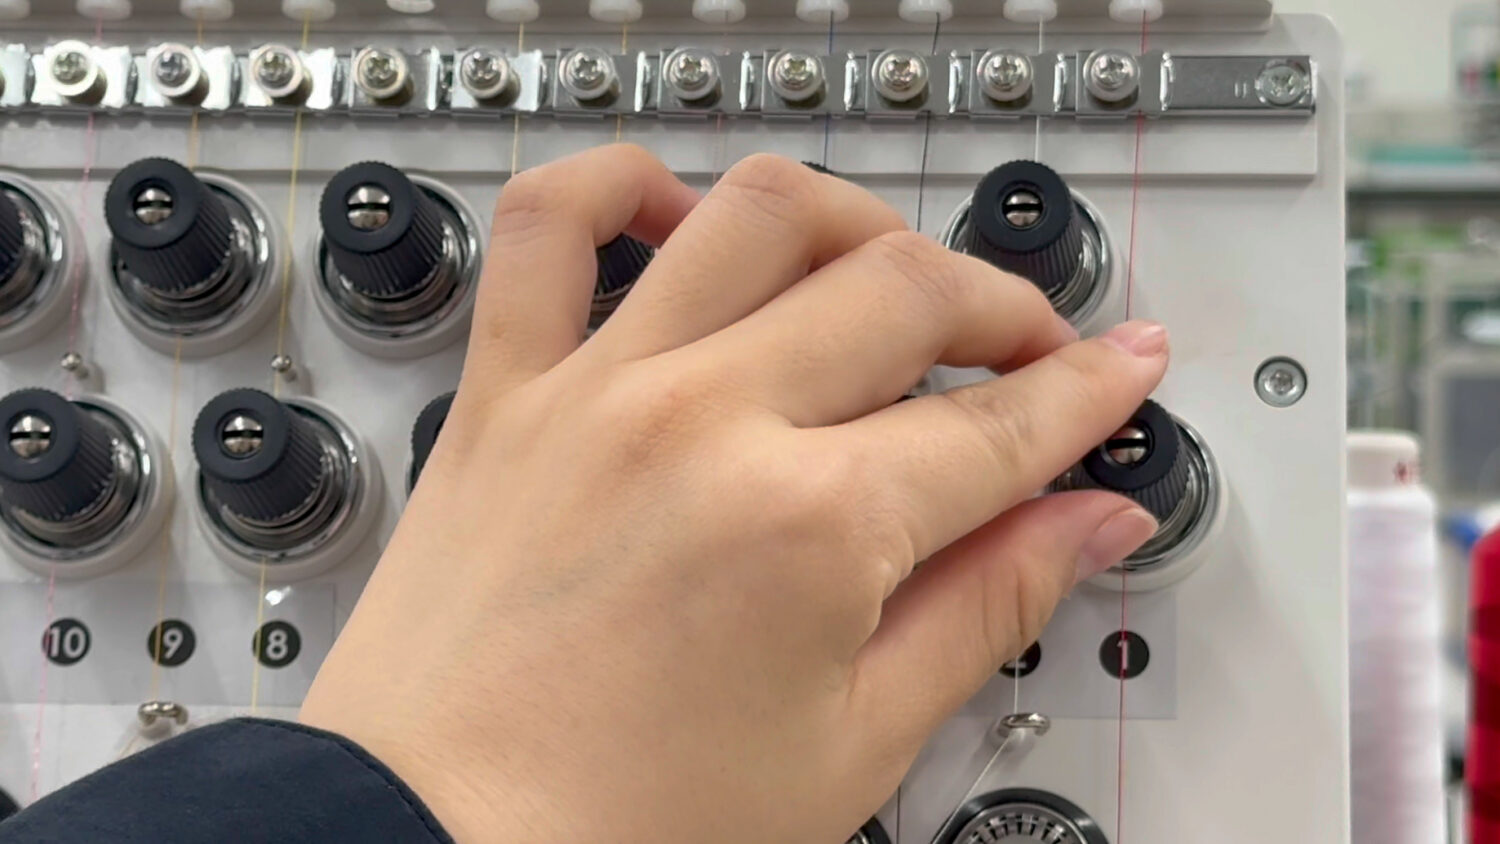
If the value is outside the recommended range: Adjust the upper-thread tension using the tension knob.
How to Measure Under Threads Tension.
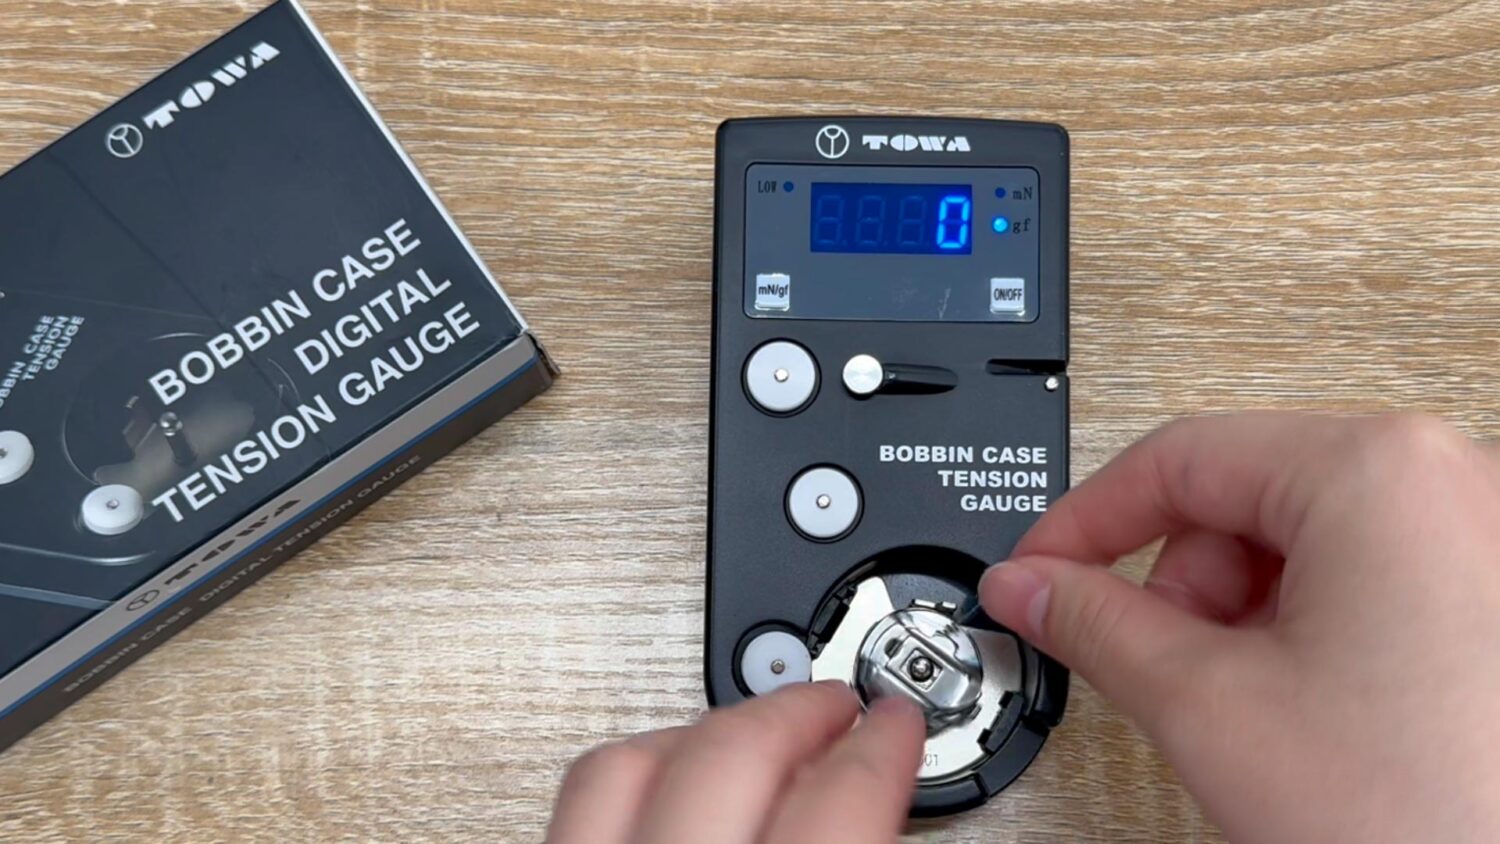
①Insert the wound bobbin into the bobbin case and set it on the digital tension gauge.
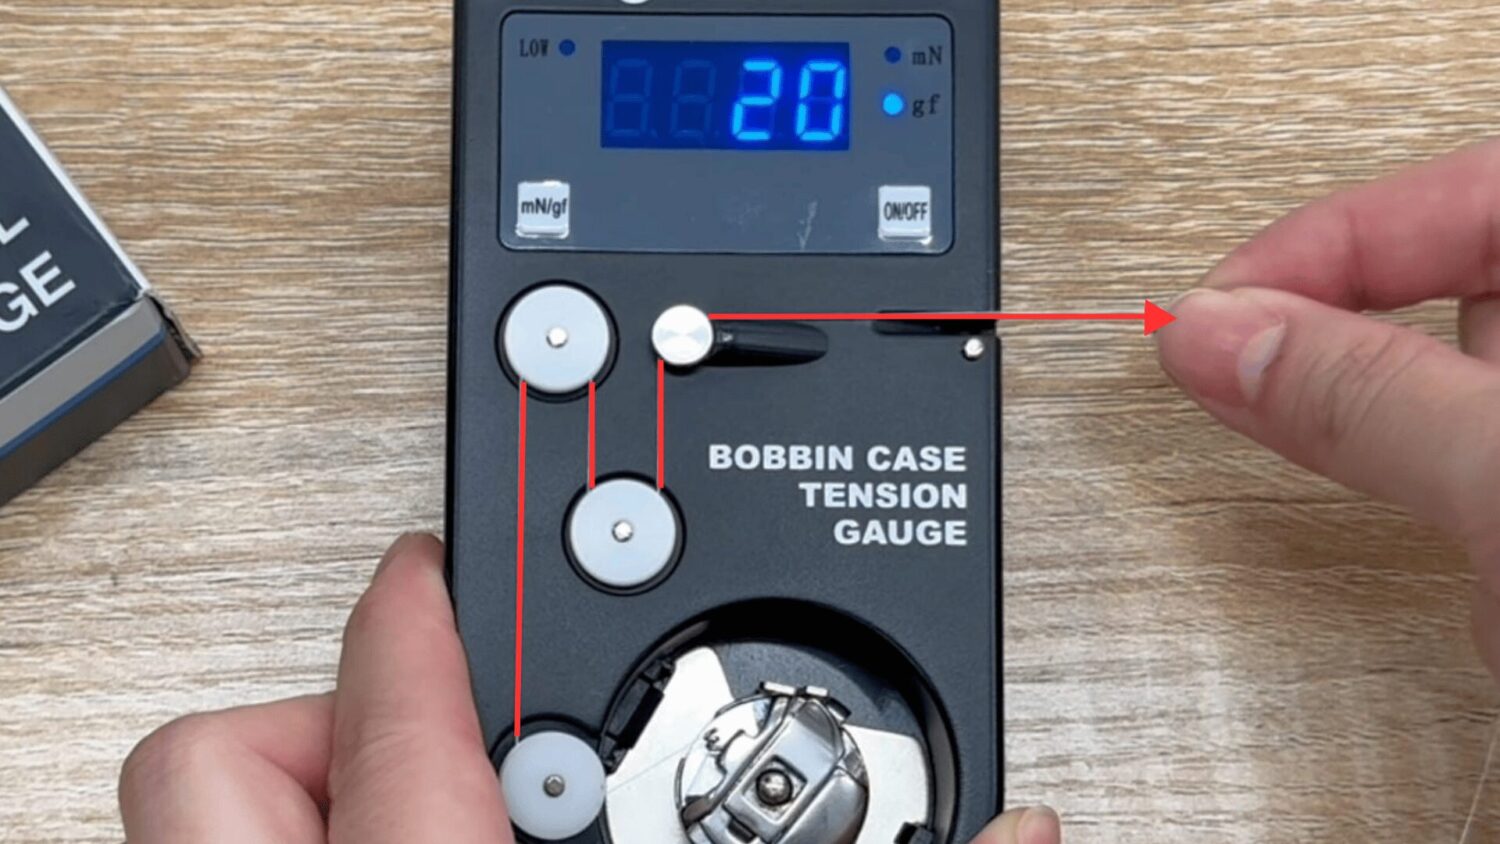
②Set the bobbin thread onto the gauge and pull it gently to the right.
The current tension value will appear on the display.
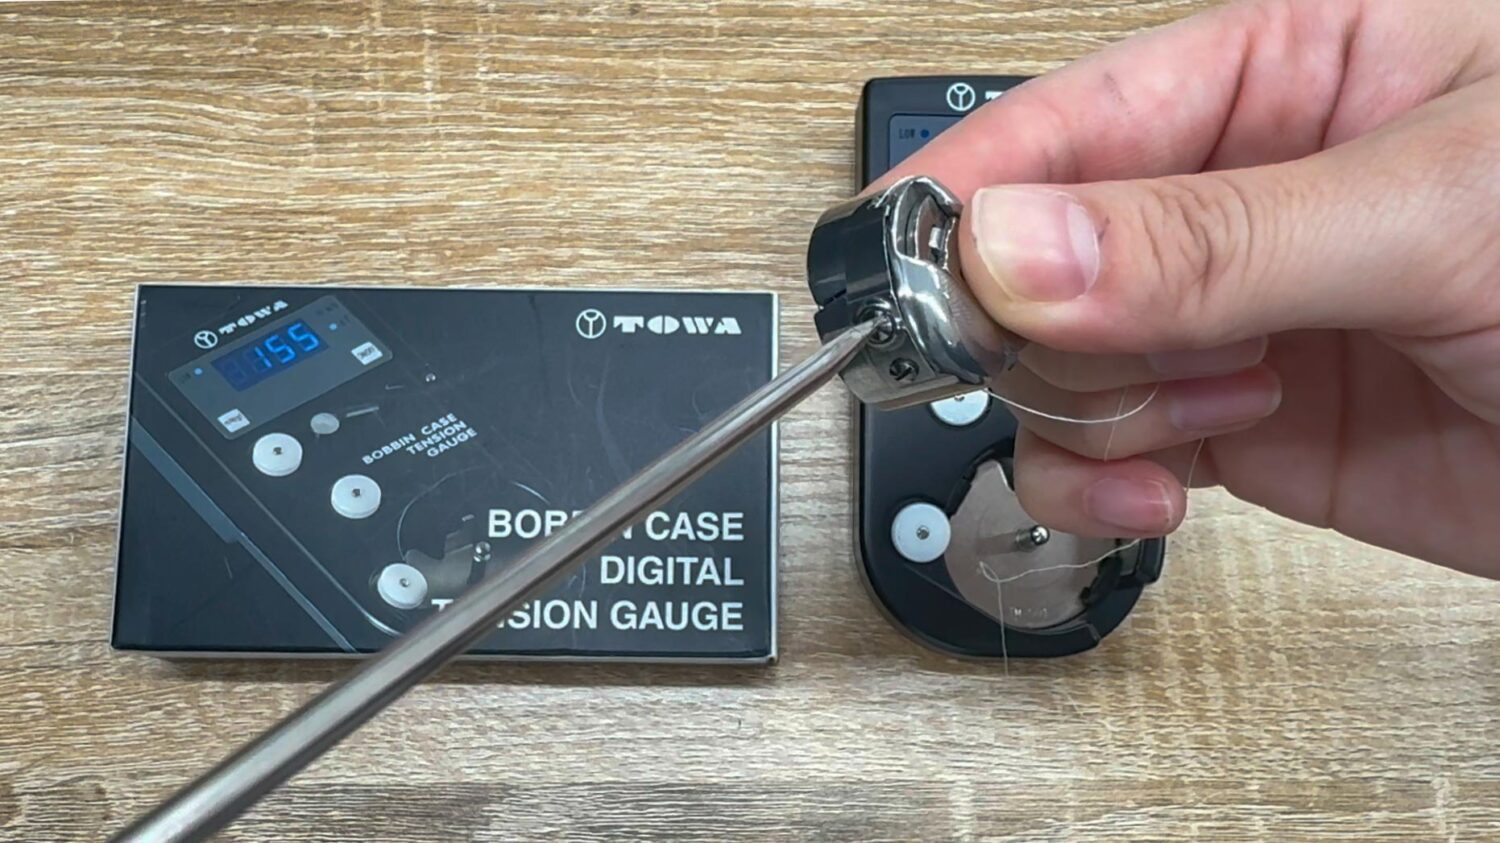
If the value is outside the recommended range: Adjust the tension screw on the bobbin case.
*To decrease tension: turn the screw counterclockwise (loosen)
*To increase tension: turn the screw clockwise (tighten)
In this article, we introduced the digital tension gauge, a useful tool for accurately measuring and adjusting thread tension.
At TAJIMAG, we regularly share practical TIPS for embroidery-machine users and anyone interested in embroidery and textile craftsmanship.
We hope you’ll explore our other articles as well and find ideas and knowledge that support your daily creative work.