“PulseID(DG.NET SaaS)”
—Add Personalized Embroidery Easily Through the Cloud
Demand for personalized embroidery is increasing in the apparel and e-commerce industries. Tajima’s ” PulseID ” utilizes the cloud to make providing personalized embroidery simple and easy with support in processing embroidery services, from receipt of the order to production of the ordered products.
PulseID streamlines everything from embroidery orders to production
Conventional Processes vs. PulseID: The Difference

Greater Efficiency After Incorporating PulseID is the Point
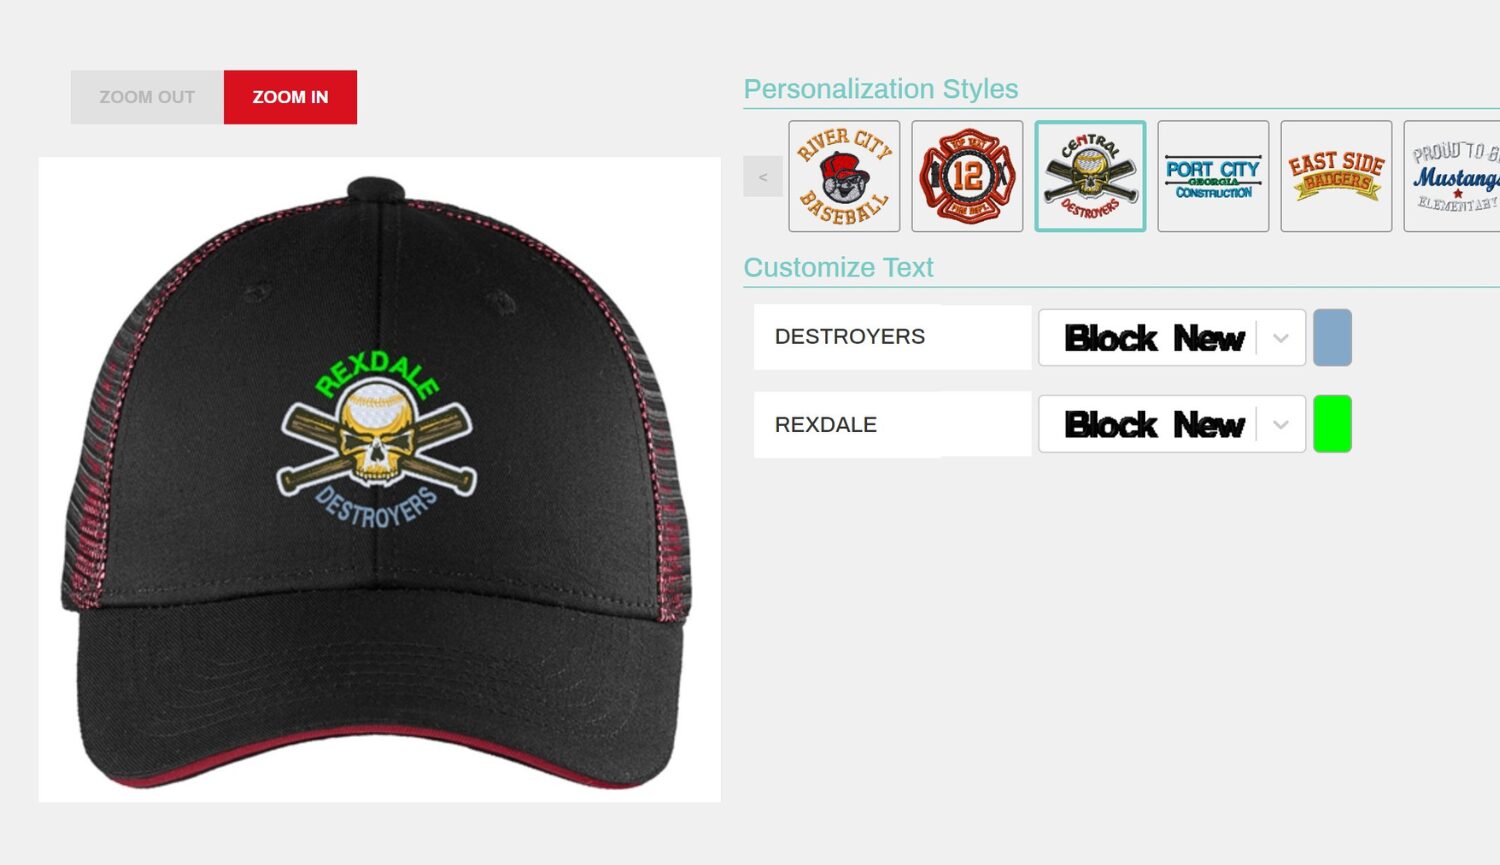
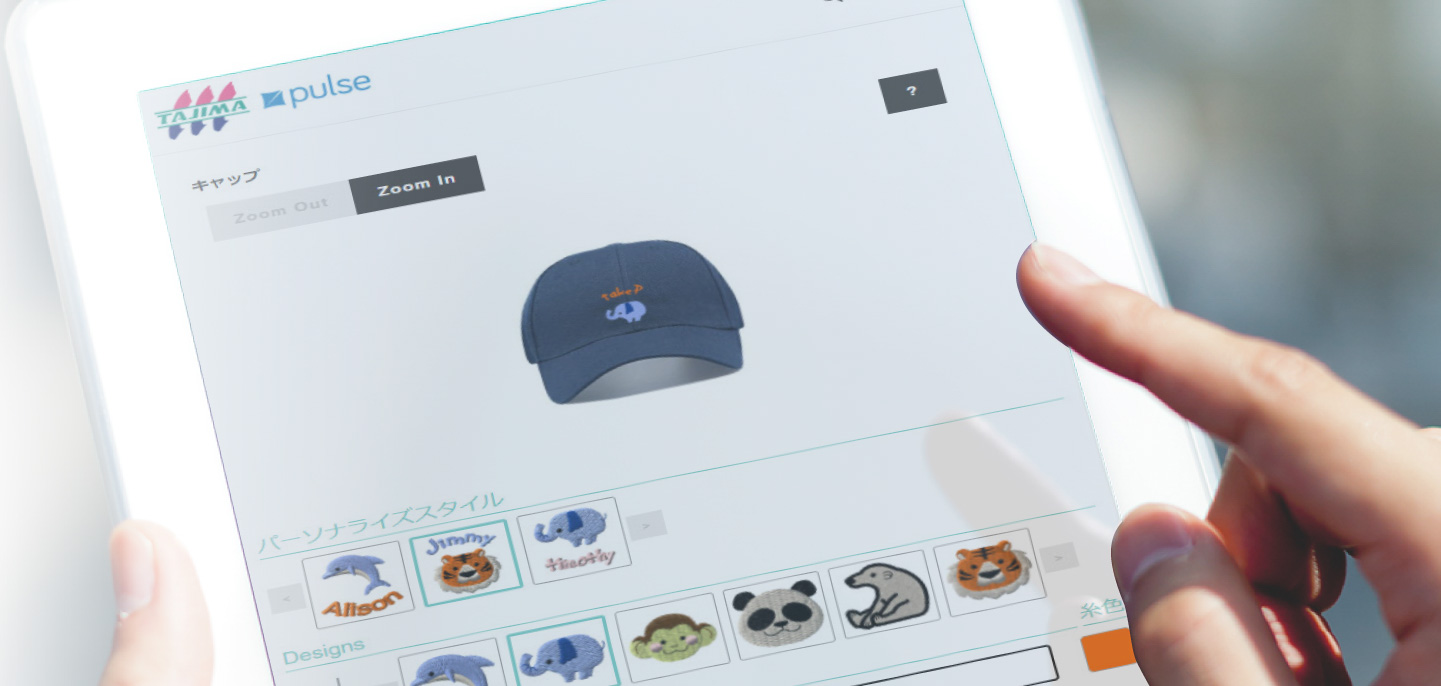
3D images rendered in order screen
Images of the finished product can be checked in the display screen before the order is confirmed. This results in a smarter ordering process, as it prevents errors in ordering and increases customer satisfaction.
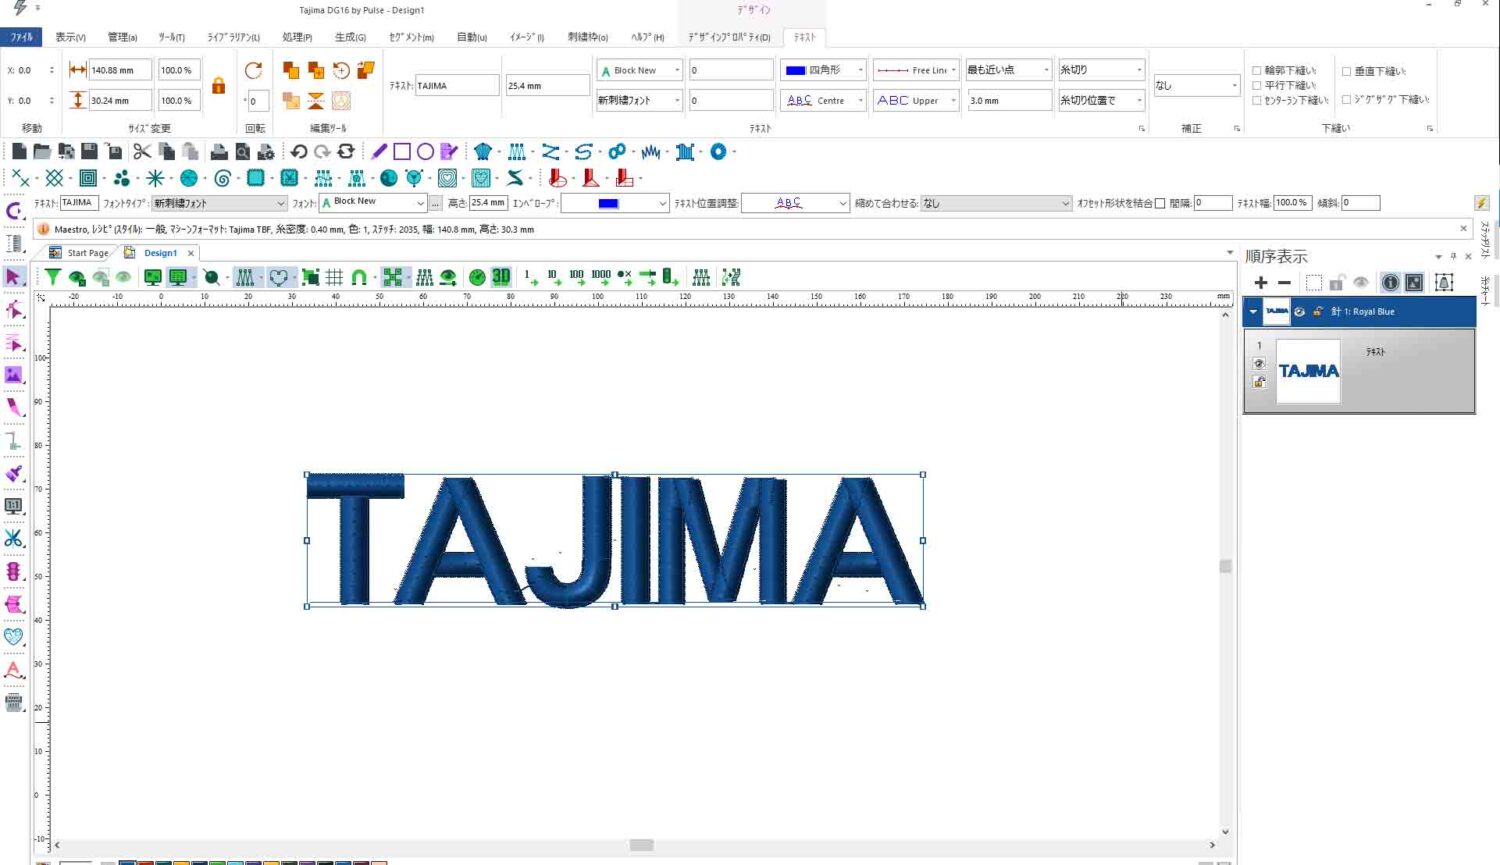
Embroidery data is generated automatically
Embroidery data is accurately generated from the preview and saved on the server, along with thread colors and other information. These files can be easily transferred to the embroidery machine, which significantly reduces lead time.
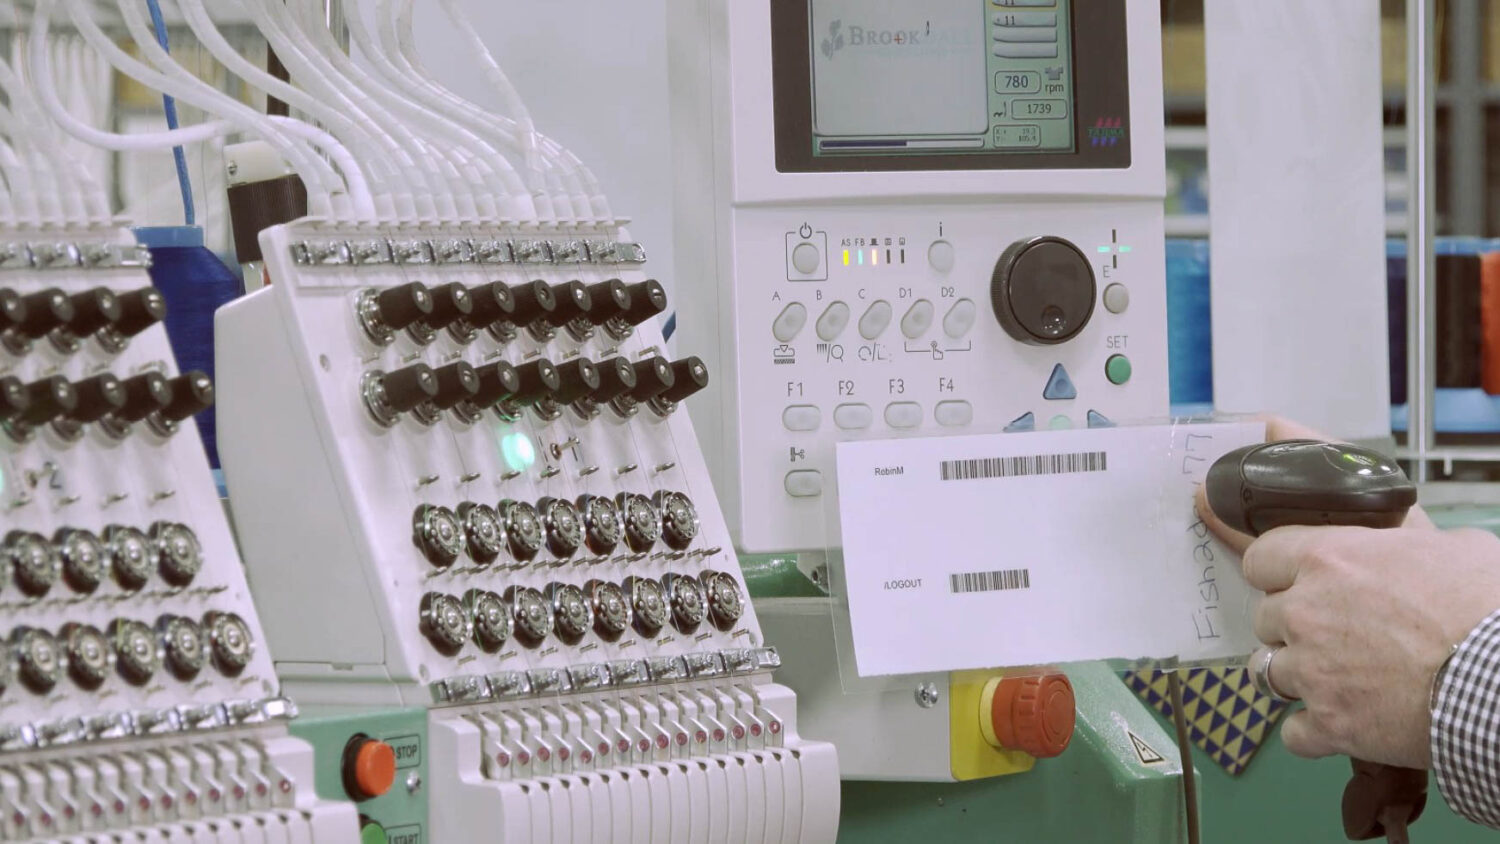
Data is transferred with barcodes
A single scan transfers all of the data necessary for production to the embroidery machine. This abbreviates the steps of selecting the data and setting the machines while also preventing human errors such as mistakes in registration.
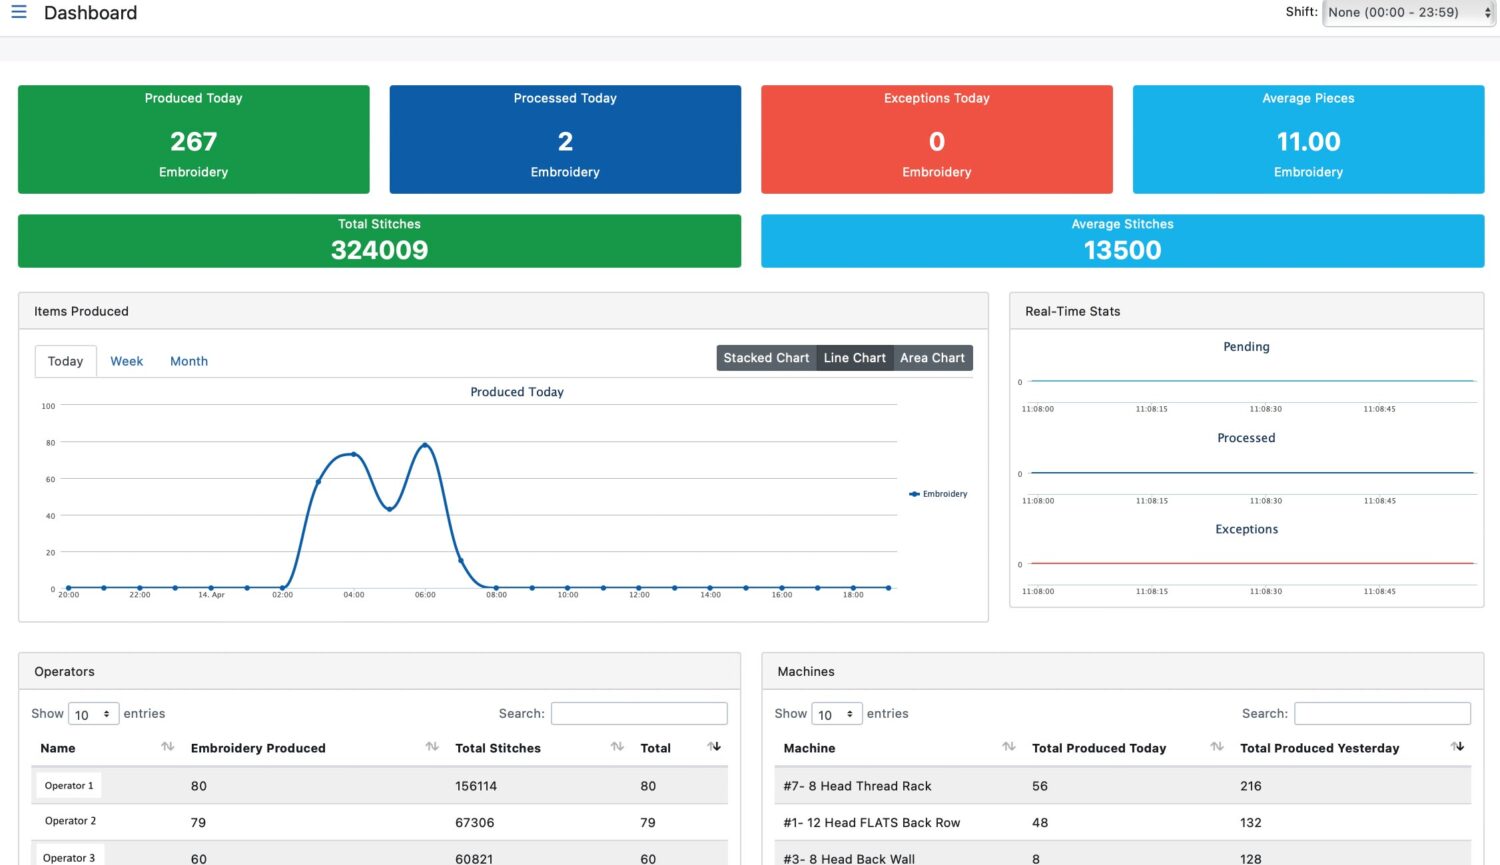
Confirms operation/production status
Data for each individual embroidery machine, including the progress of production and any technical issues, can be aggregated and confirmed remotely from any location.
You can check the operational data by individual embroidery machine and operator, and the data can also be used in management attendance, employee performance, and more.
Benefits of using “PulseID”
Not only does the system streamline processing, from receiving embroidery orders to production of the items, the ability to display rendered images in 3D on an e-commerce screen makes the process more involving and enhances customer satisfaction. In addition, visualizing production status improves the productivity of the entire factory while shortening delivery times and increasing profitability.
Those interested in starting up embroidery services or who have any issues with personalized embroidery service should feel free to contact us via the CONTACT form.
- Increases customer satisfaction
- Operation screen that even beginners can use—reduces personnel and training costs
- Reduces errors in manual operation and the defective product rate
- Visualizing production status enhances productivity
- Shortens delivery times and improves profitability
PulseID – SaaS makes it easy to build your businesss
No bothersome server contracts or management tasks are required. Our experienced staff provides support with everything from installation to after-sales follow-up, allowing you to adopt the system with confidence.
*Product training and support via phone and email are also available.

Use with “DG16” to Become Even More of an Embroidery Professional
Combine with AI Embroidery Machines
for Easy Operation, Even for Beginners
-
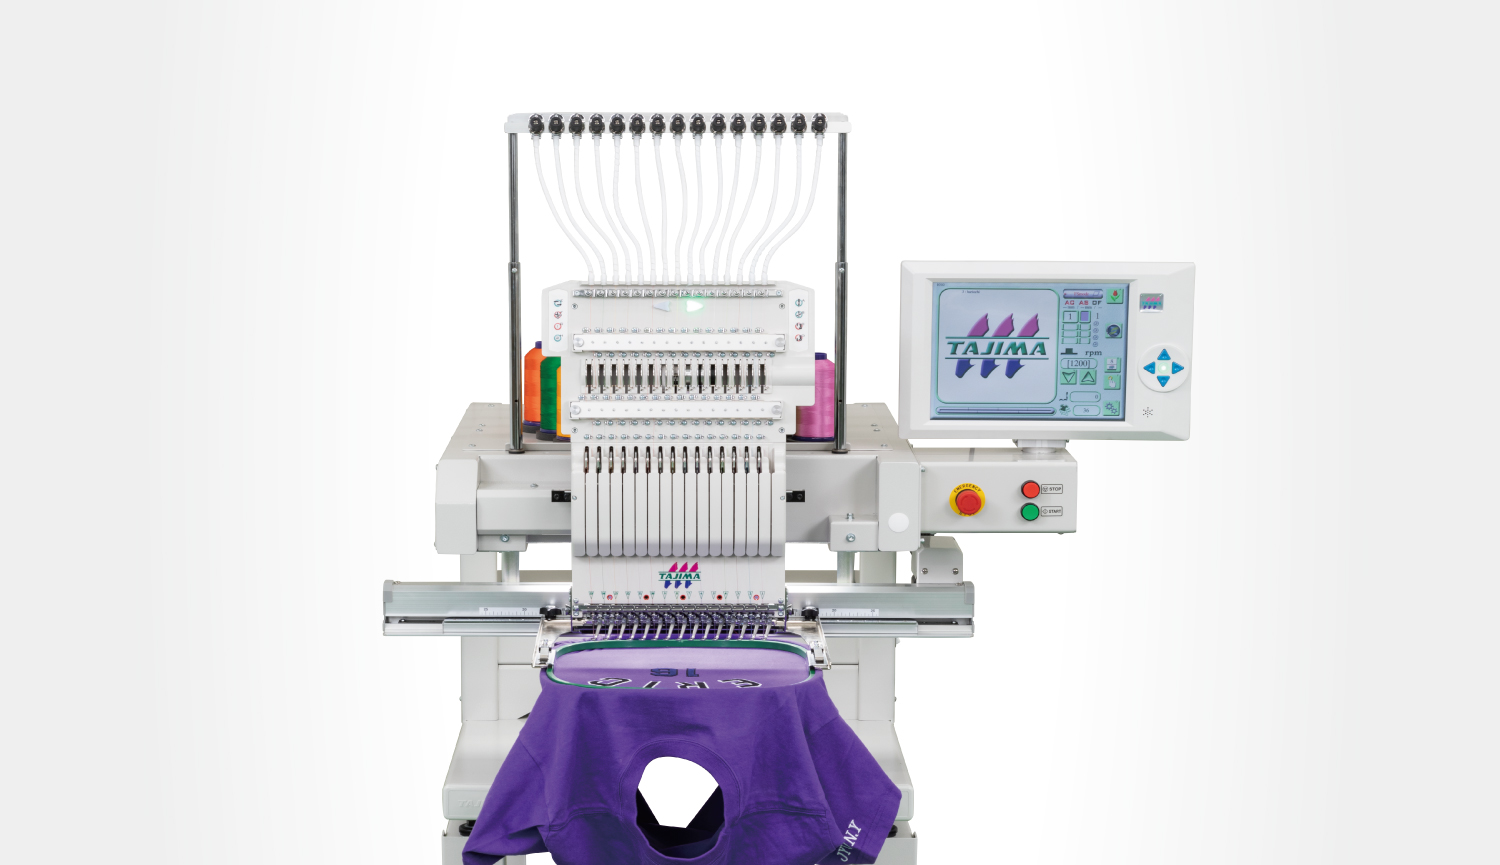
Single-head Cylinder-Type Commercial Embroidery Machines
TMEZ-SC
Single-head Cylinder Type Flagship Model is equipped with Tajima's latest technologies
- Flagship
-
-
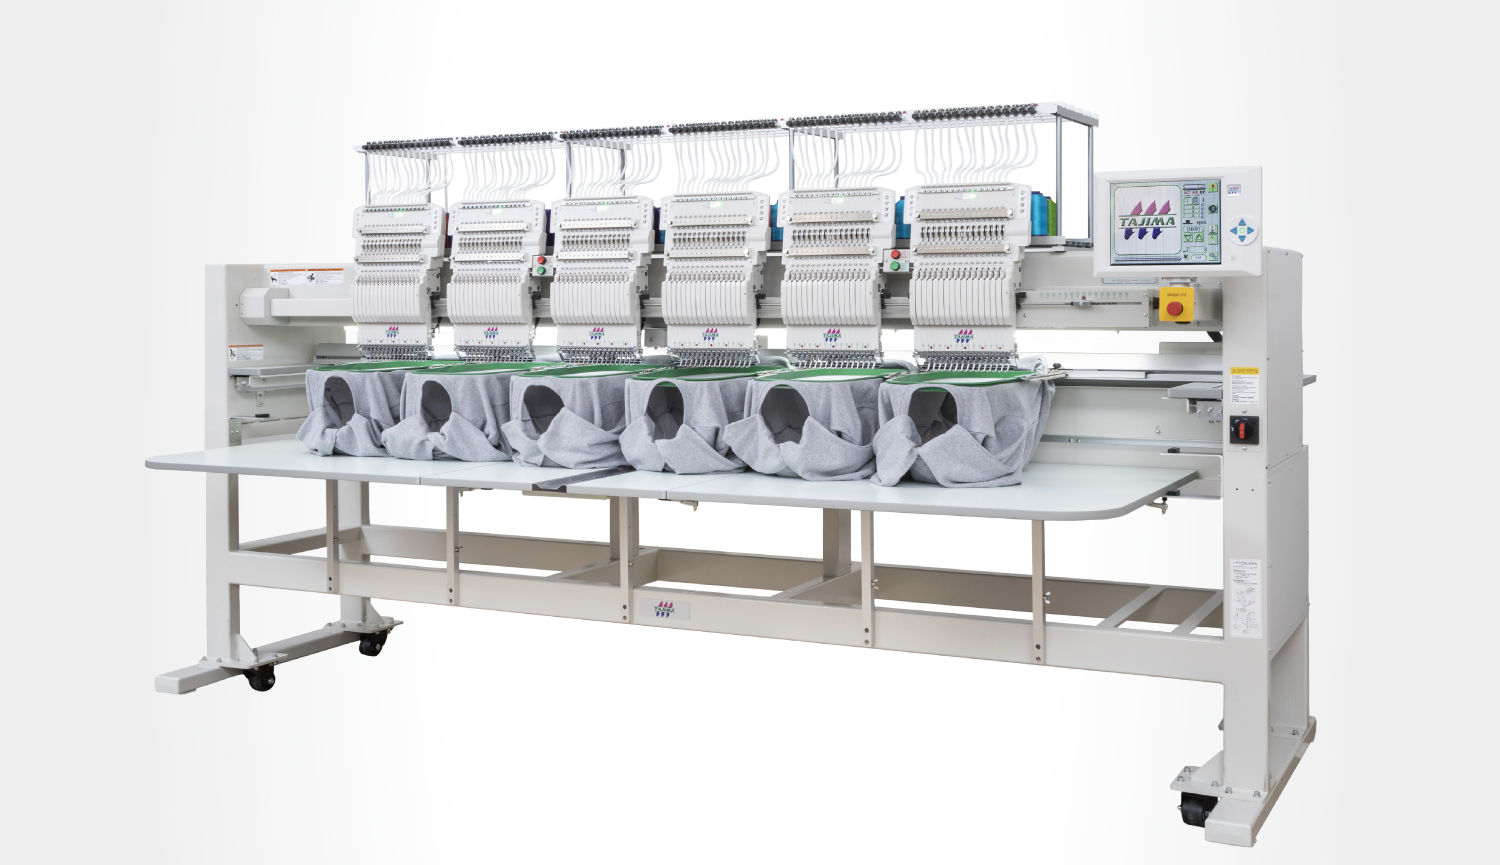
Multi-head Cylinder-Type Commercial Embroidery Machines
TMEZ-KC
Multi-head Cylinder Type Flagship Model is equipped with Tajima's latest technologies
- Flagship
-


Catalog Download
Distributors
TAJIMAG
Recommended content
-
Customer’s voice

LACOSTE JAPAN|World-Class Customization Service from Harajuku Store
-
Customer’s voice

Tabio Nara Co., Ltd. | Introduction of the DG.NET embroidery solution creates new ways to enjoy embroidery!
-
Customer’s voice

Kutsushitaya Kichijoji store|Embroidery Services Fulfilling Customers’ Wishes Custom embroidery socks in just 30 minutes!